

We’ve all been there: You saw some cute nail art designs on Pinterest or Instagram, perhaps you even found a handy tutorial and stocked up on some new products. But now you’re two hours into attempting your own at-home manicure, struggling to get an even coat, and beginning to realize why so many people choose to leave it to the professionals.
The thing is, attempting to DIY your own manicure always sounds like a good idea (and when you’re sat in the salon chair, your manicurist probably makes it look effortless), but there’s a lot more that goes into achieving those salon-perfect results than meets the eye.
![]()
As a self-confessed nail-art obsessive, I’ve spent many hours sitting in salon chairs picking the brains of professional manicurists and nail technicians—enough time to have picked up on the go-to mistakes that most people make (myself included!) plus the tips and techniques to help remedy them. Whether you struggle to get a smooth coat of color or your cuticles always end up looking shredded, taking some advice from professionals can make all the difference.
If you’re looking to improve your at-home manicure techniques, scroll down to discover the seven mistakes nail professionals want us to stop making, and learn how to pull off the perfect DIY manicure.
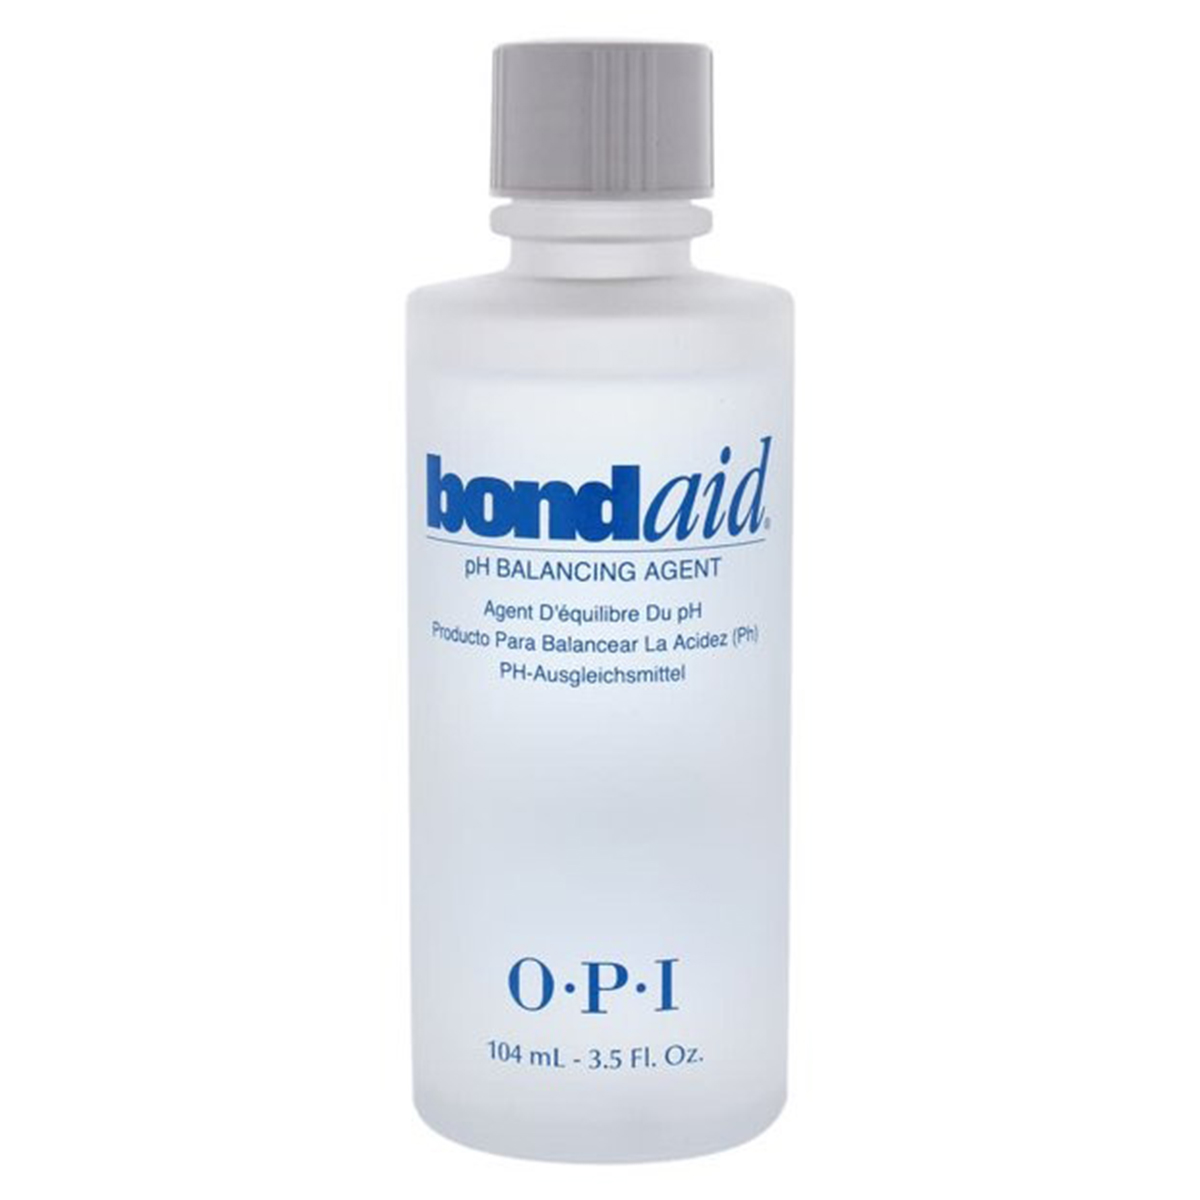
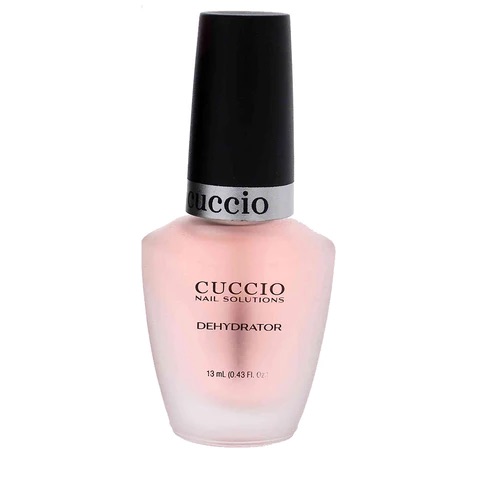
Prepping your nails probably isn’t something you think about doing first (and we mean more than just applying a base coat). But just as it’s important to cleanse your skin before applying makeup, it’s vital to ensure your nails are totally clean. “Make sure you’re always dehydrating the nail plate with a dehydrator or acetone before you apply your polish,” explains nail technician Ashleigh Bamber. “If you skip this step, the oils, dust, and dirt on your nails will stop the gel from sticking to your nails, and you’ll find your polish won’t last as long as it should.”
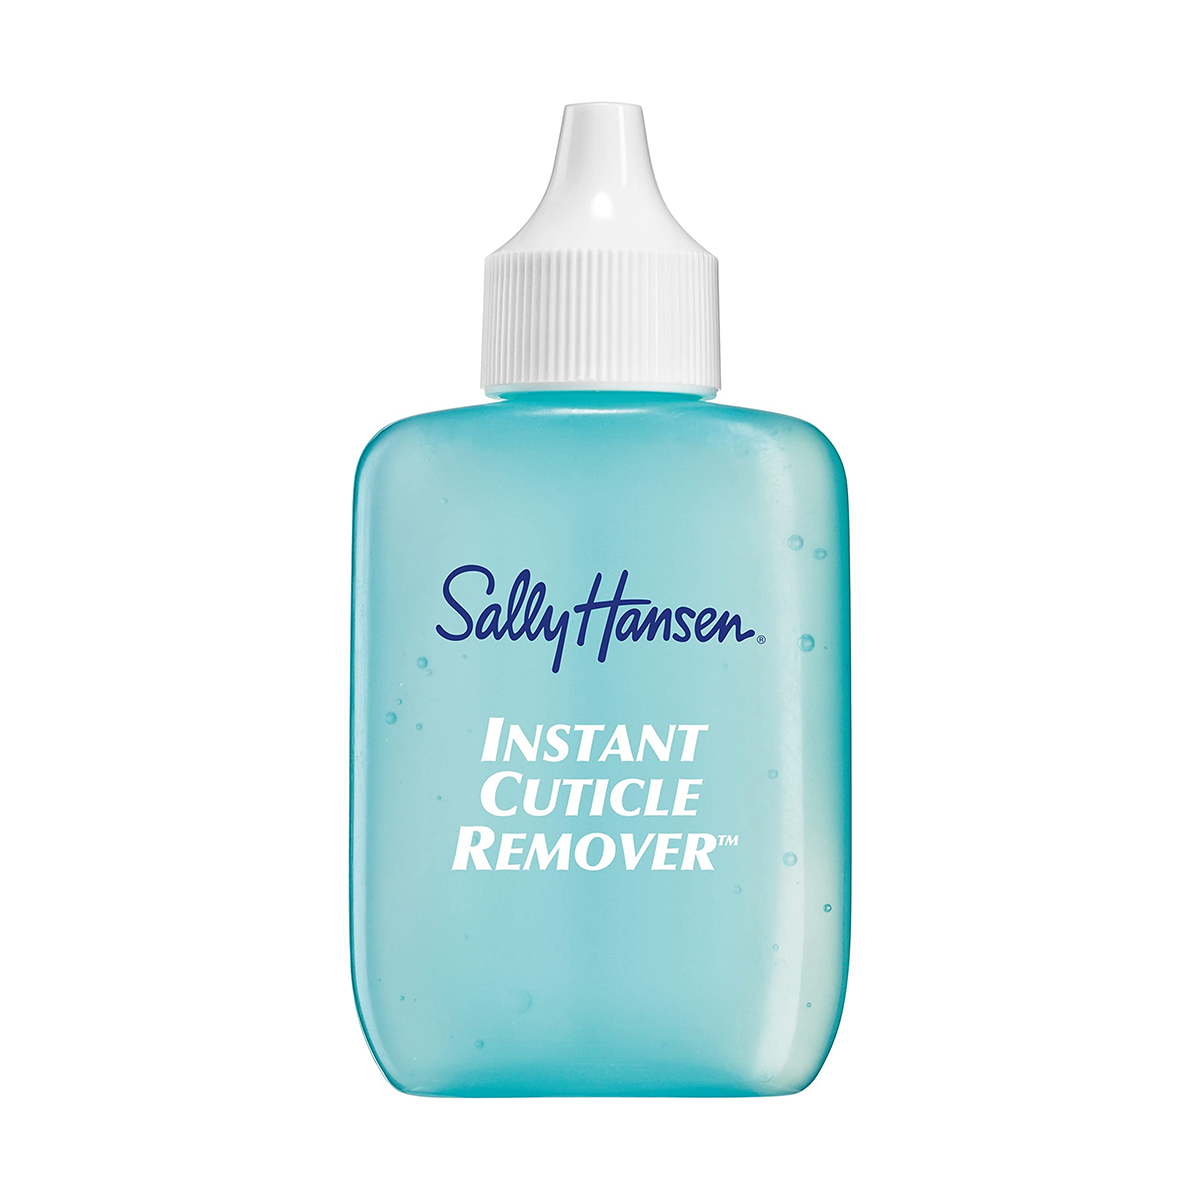
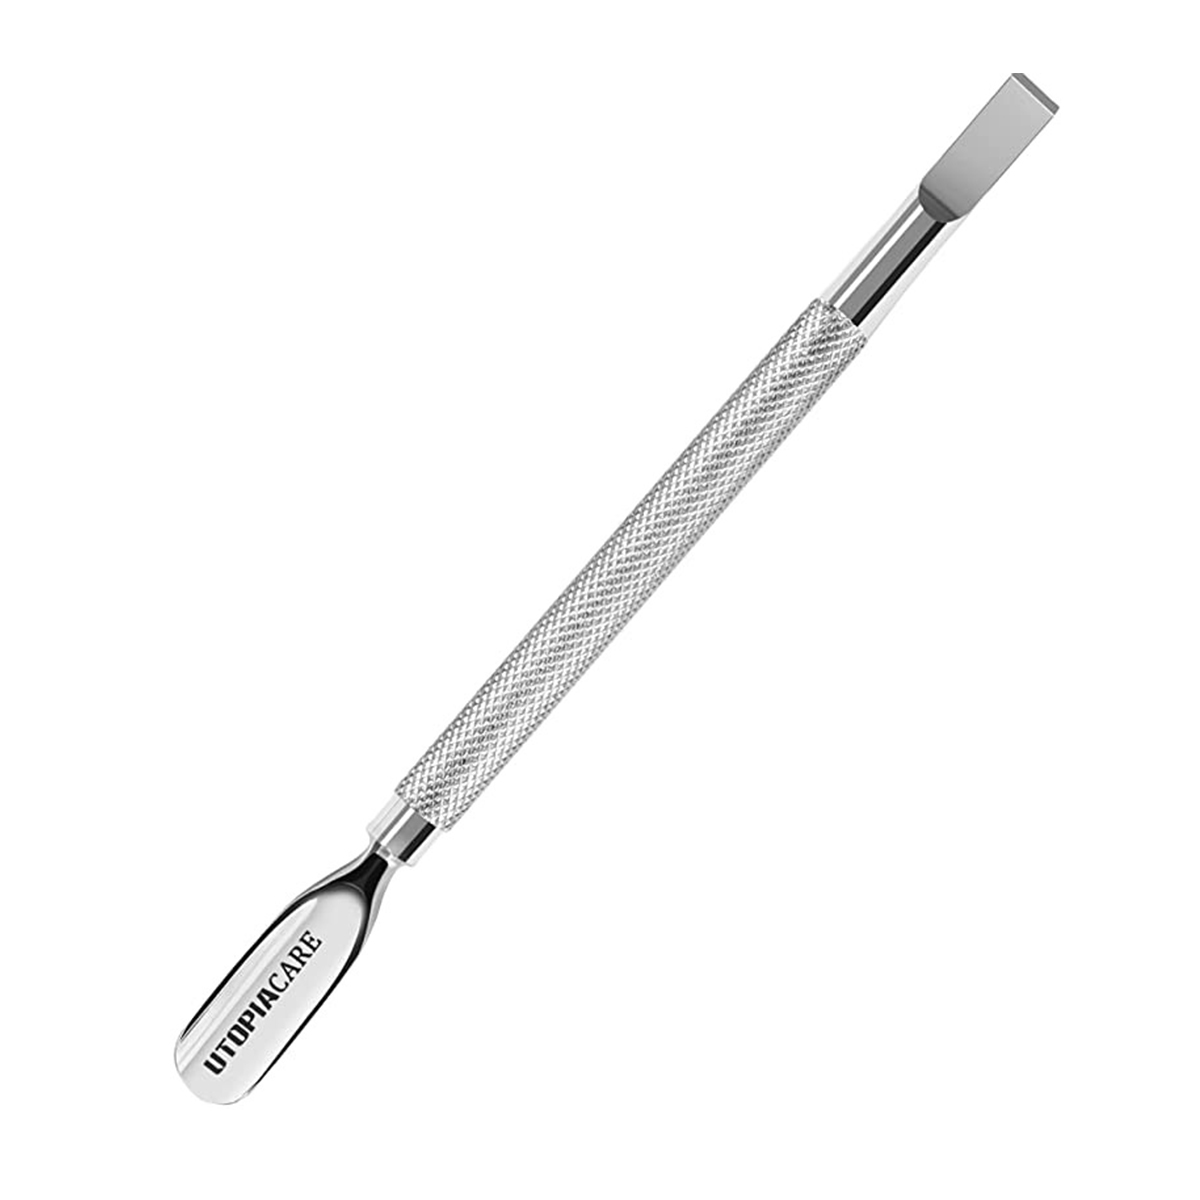
A tidy cuticle really is key to achieving a flawless manicure, but while it can be all too tempting to pick up the nippers and attempt to replicate the techniques you’ve seen in-salon, it’s probably best to leave anything that requires tools to the professionals. “Nail prep needs to be done with real care, and all too often I see clients absolutely obliterating what they thought was dead skin, only to find it wasn’t and they’re left bleeding,” says nail artistRose Tucker. “To save yourself the pain and the risk of infection, only ever remove hangnails from your skin, and gently use a cuticle pusher on your nail plate to loosen dead skin and cells.” Tucker also recommends using cuticle softeners to prevent buildup and help the pusher do the hard work.

Although it’s time-consuming, it pays off to apply your polish in multiple thin layers, rather than one thick one. “Less really is more when it comes to your at-home nail session, so whether you’re working with regular or gel polish, each coat should be super thin,” says Bamber. In fact, she warns this can dramatically shorten the lifespan of your manicure. “Using thick coats will only leave you with a gloopy, uncured (or not dry) manicure and even if it sets you may find it peels off in a few days,” she adds.
You’ve probably never heard of capping before, but this pro-approved technique is the ultimate hack to stopping your nail polish from chipping. “Capping is a trick we use to make sure the product is sealed and resistant to chips,” explains Tucker. “All you need to do is—before your hand goes in the lamp and whilst the rest of your polish is still wet—lightly drag the tip of your brush along the tip of your nail.” This technique also works with regular nail polish. “You don’t want a lot of product on the brush here as you don’t want to see a ridge so just use what’s left on your brush and paint thinly,” she advises.
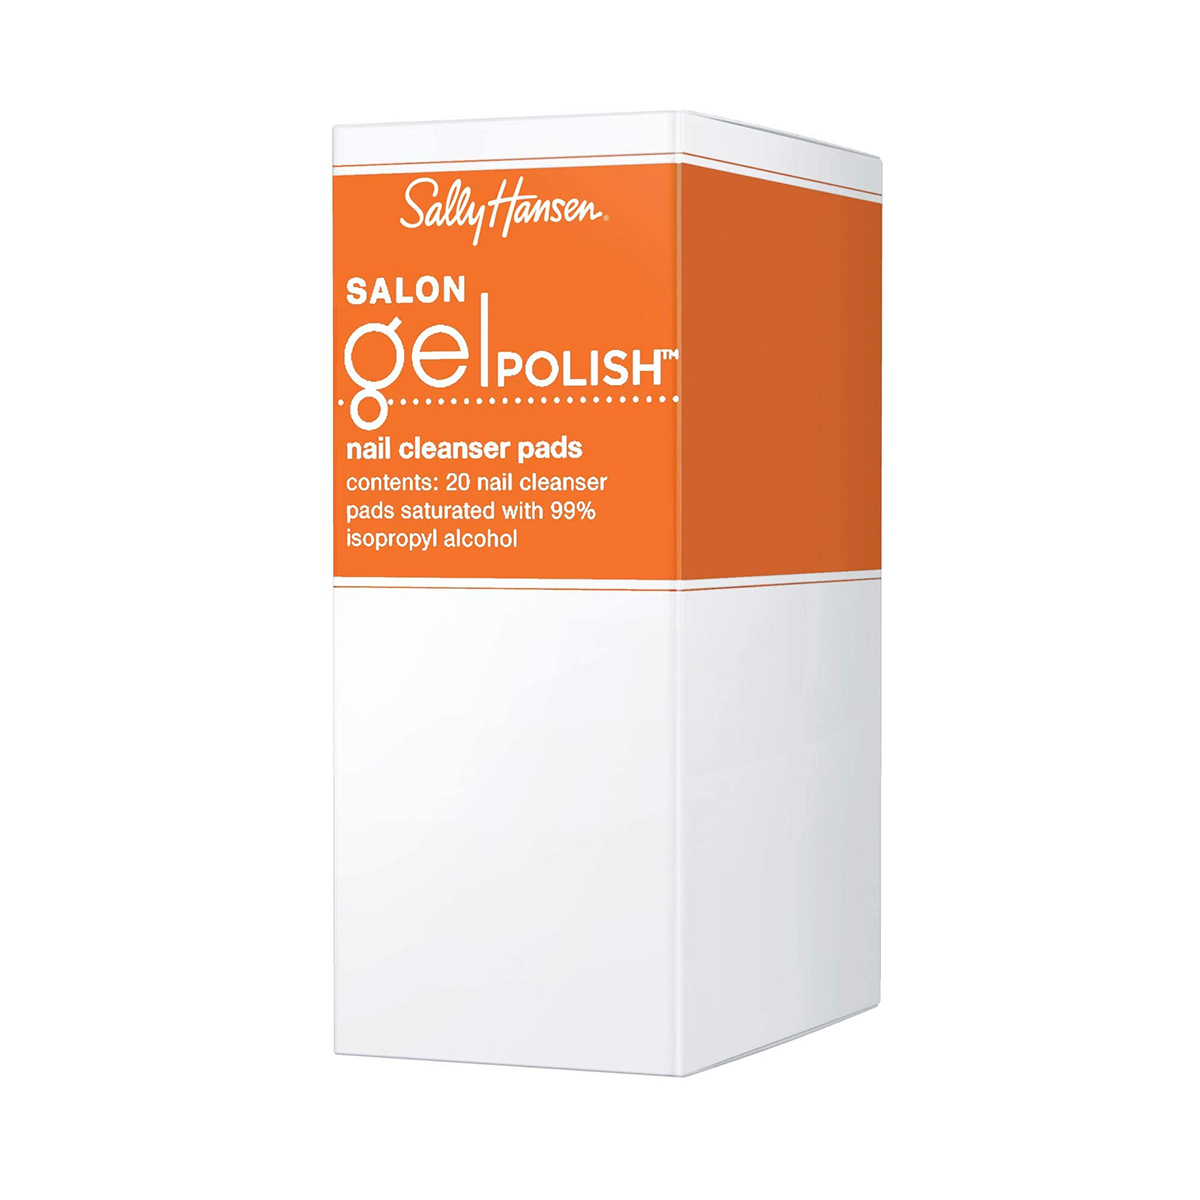
If you feel like your DIY manicures never look as perfect as your professional ones, listen up. According to both Bamber and Tucker, not tidying up is the number one mistake they spot among clients who have attempted an at-home manicure. “It’s also one of the easiest to avoid, but believe it or not it still happens,” says Bamber. “Leaving specks of polish on the surrounding areas of your nails will make them look messy and if you’re using gel, will most likely make them lift.”
When applying polish to your nails, Bamber recommends doing a single swipe down the centre of your nail to start, followed by a swipe on either side (overlapping if needed) and avoiding getting too close to the edge of your nails. “It’s always better to leave a tiny gap than to get polish on your skin,” she says. “You could even use a fine brush to go around the cuticle and side walls if you struggle with this,” she adds. And if you do get polish on your skin? “Always make sure to clean your nails up with nail polish remover on a cotton ball as quickly as possible.”
In addition, Tucker advises that overexposing gel and polish to skin can cause skin reactions. “I learned this the hard way and now live with the irony of being a nail artist who’s allergic to gel polish,” she says. “It’s usually only a problem if product is left uncured on the skin as the compound changes when it cures in the lamp, so be super careful with your application and if you do get any on your skin, wipe it off immediately.”
“If there’s one step that you never skip when doing your nails at home, then let this be the one,” says Bamber. “Oiling your cuticles daily is hands down the easiest and most effective way to keep your at-home mani looking fresh and stop it from lifting and peeling.” Tucker agrees. “Good aftercare can be the difference between a five day manicure and a three week one,” she says.
“You still want to look after your nails once your manicure is complete because although gel and polish are sturdy, they’re not bulletproof.” It also helps to try and avoid subjecting your nails to anything too intensive in the 24 hours following your manicure. “I always tell my clients to avoid excessive heat (like saunas and hot baths) for the next couple of days,” says Tucker. “And even with gel polish, you should limit excessive contact with water for at least two hours after.”
While application and aftercare are key, don’t ruin your hard work with a rushed removal. “Picking off your gel polish or acrylics is one of the most damaging things you can do to your nails,” says Tucker. “Yes, it’s tempting when your gels are clinging on for dear life in the shower, but the damage of improper removal can take months to repair and gets harder to correct each time.” Instead, she advises investing in a good soak-off kit. “They’re reusable, cheap, easy to use, and you can buy them pretty much anywhere these days,” she adds.
Next Up: 11 Winter Nail Colours That Always Look So Elevated
This post originally appeared on Who What Wear UK.