

Some beauty chores are much more enjoyable than others. As for filing your nails, that falls (alongside cleaning your makeup brushes and shaving your legs) out there on the more mundane end of the spectrum. The thing is, how you file your nails can make the biggest difference both to how polished and tidy your nails look and also to how strong and healthy they are in the long term, too.
Turns out, there’s far more to filing your nails than you might think. In fact, manicurists train for years to master the best nail filing techniques, so it’s understandable that most of us don’t actually know how to file our nails properly.

If you’re committing to a DIY at-home manicure, we’ve called on the help of professional nail artist Ashleigh Bamber to ensure you know how to file your nails and don’t make any mistakes in the process.
![]()
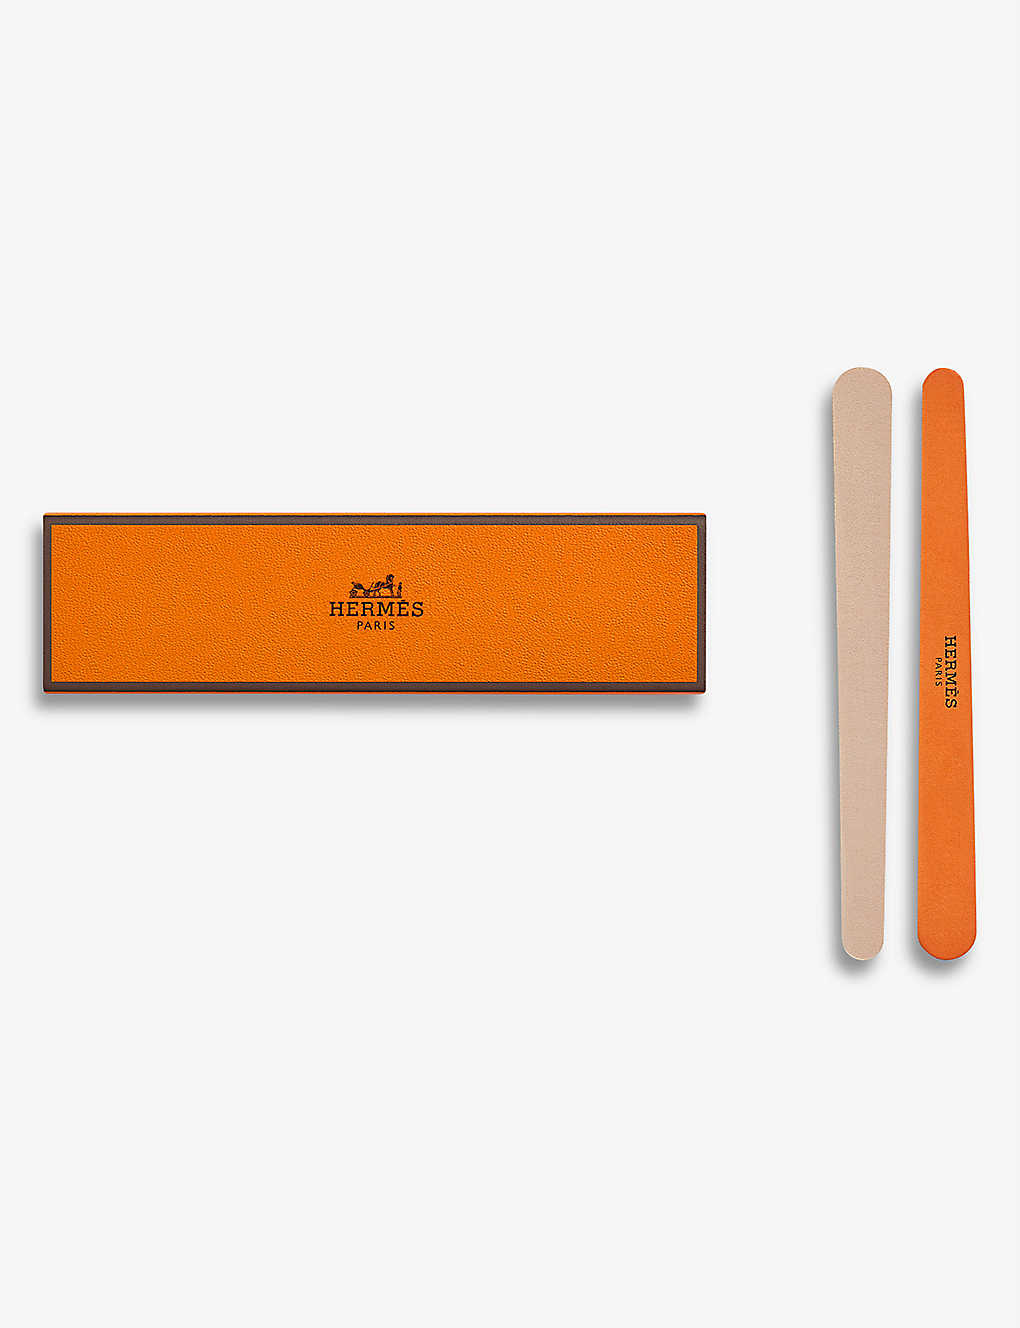
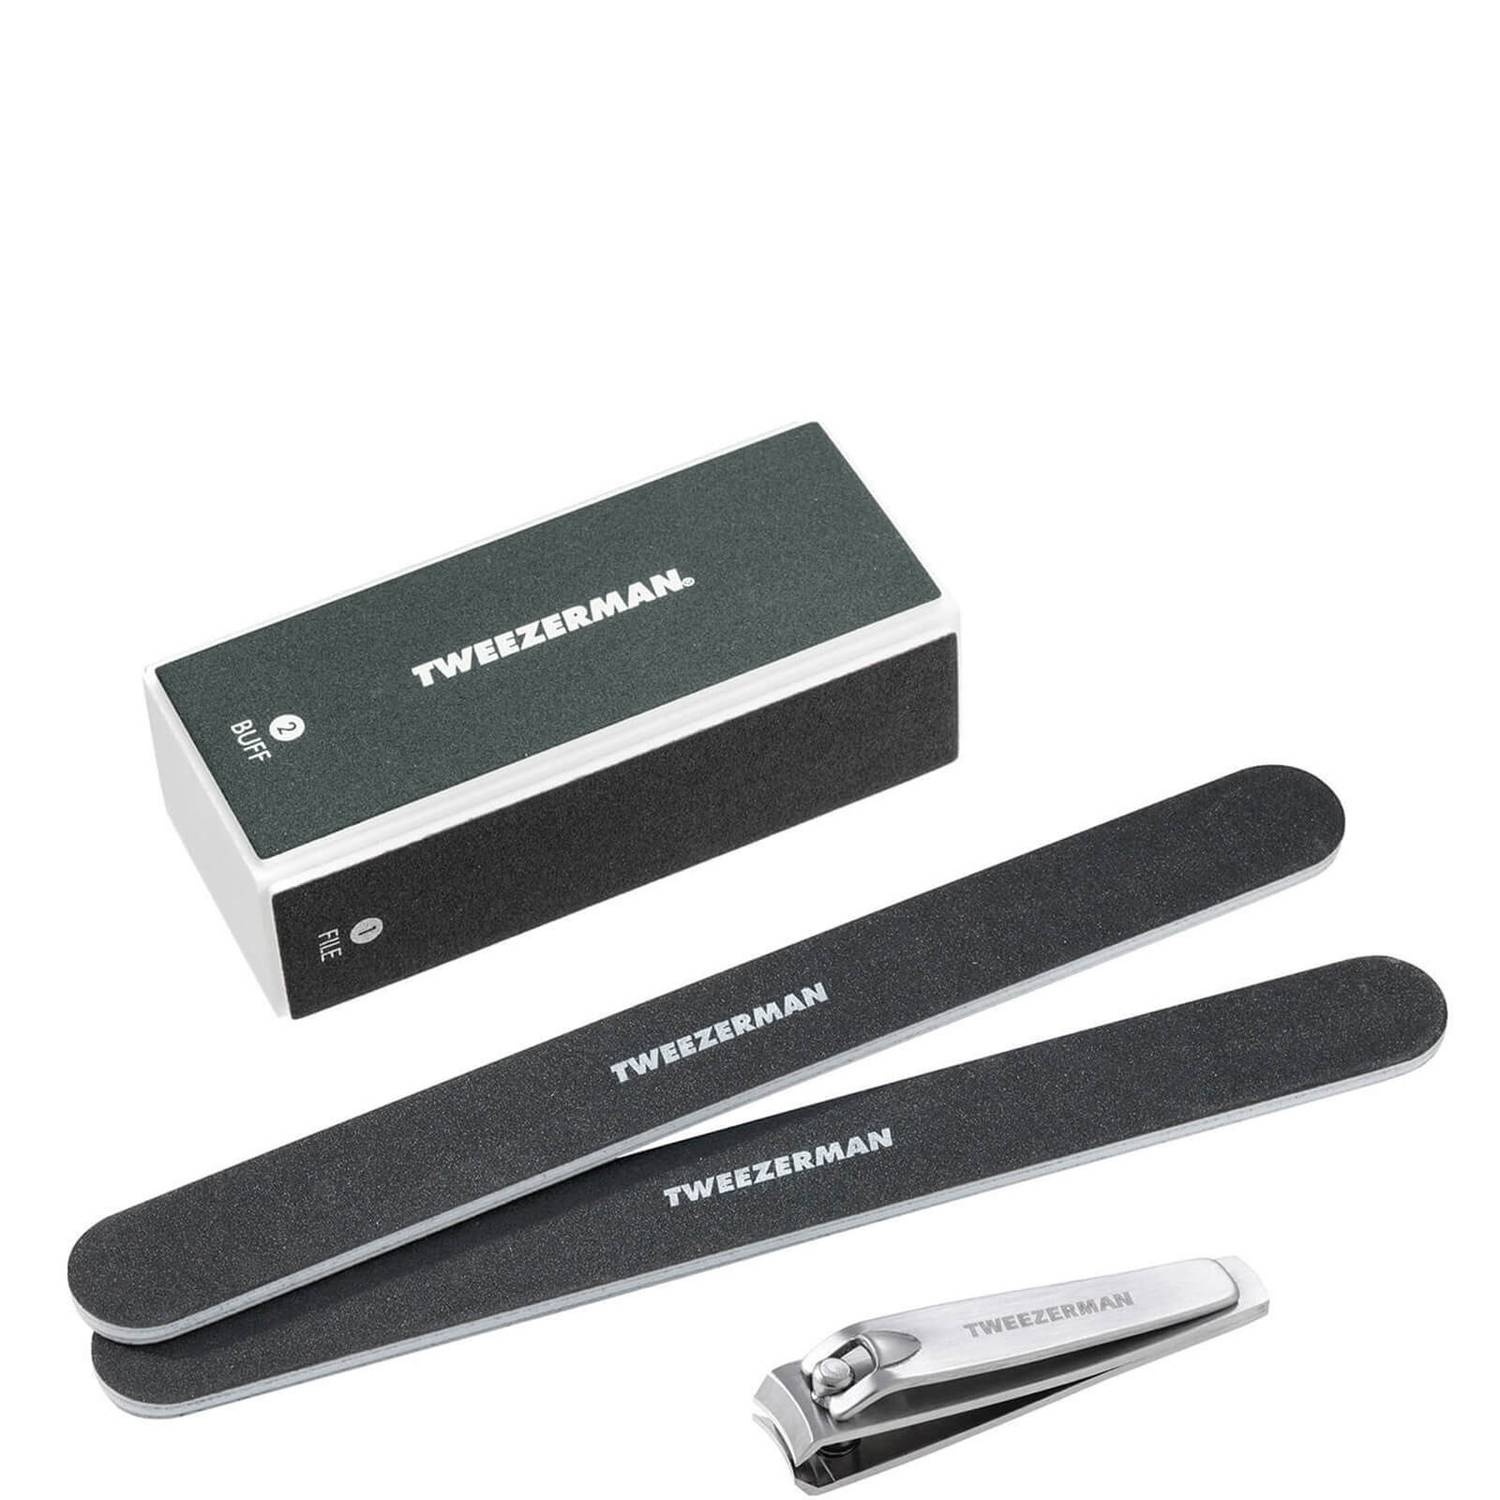
If you’ve ever wondered why nail files are numbered, you’re about to find out why—and, as it turns out, this is super important. “The lower the number of the nail file, the more coarse and abrasive its grit will be,” explains Bamber. “So with natural nails, numbers between 180 and 240 are correct to use—anything lower should be used on gels, extensions, and acrylics only.” Files with higher numbers can be used to buff the edges of your nails if they become jagged after filing.
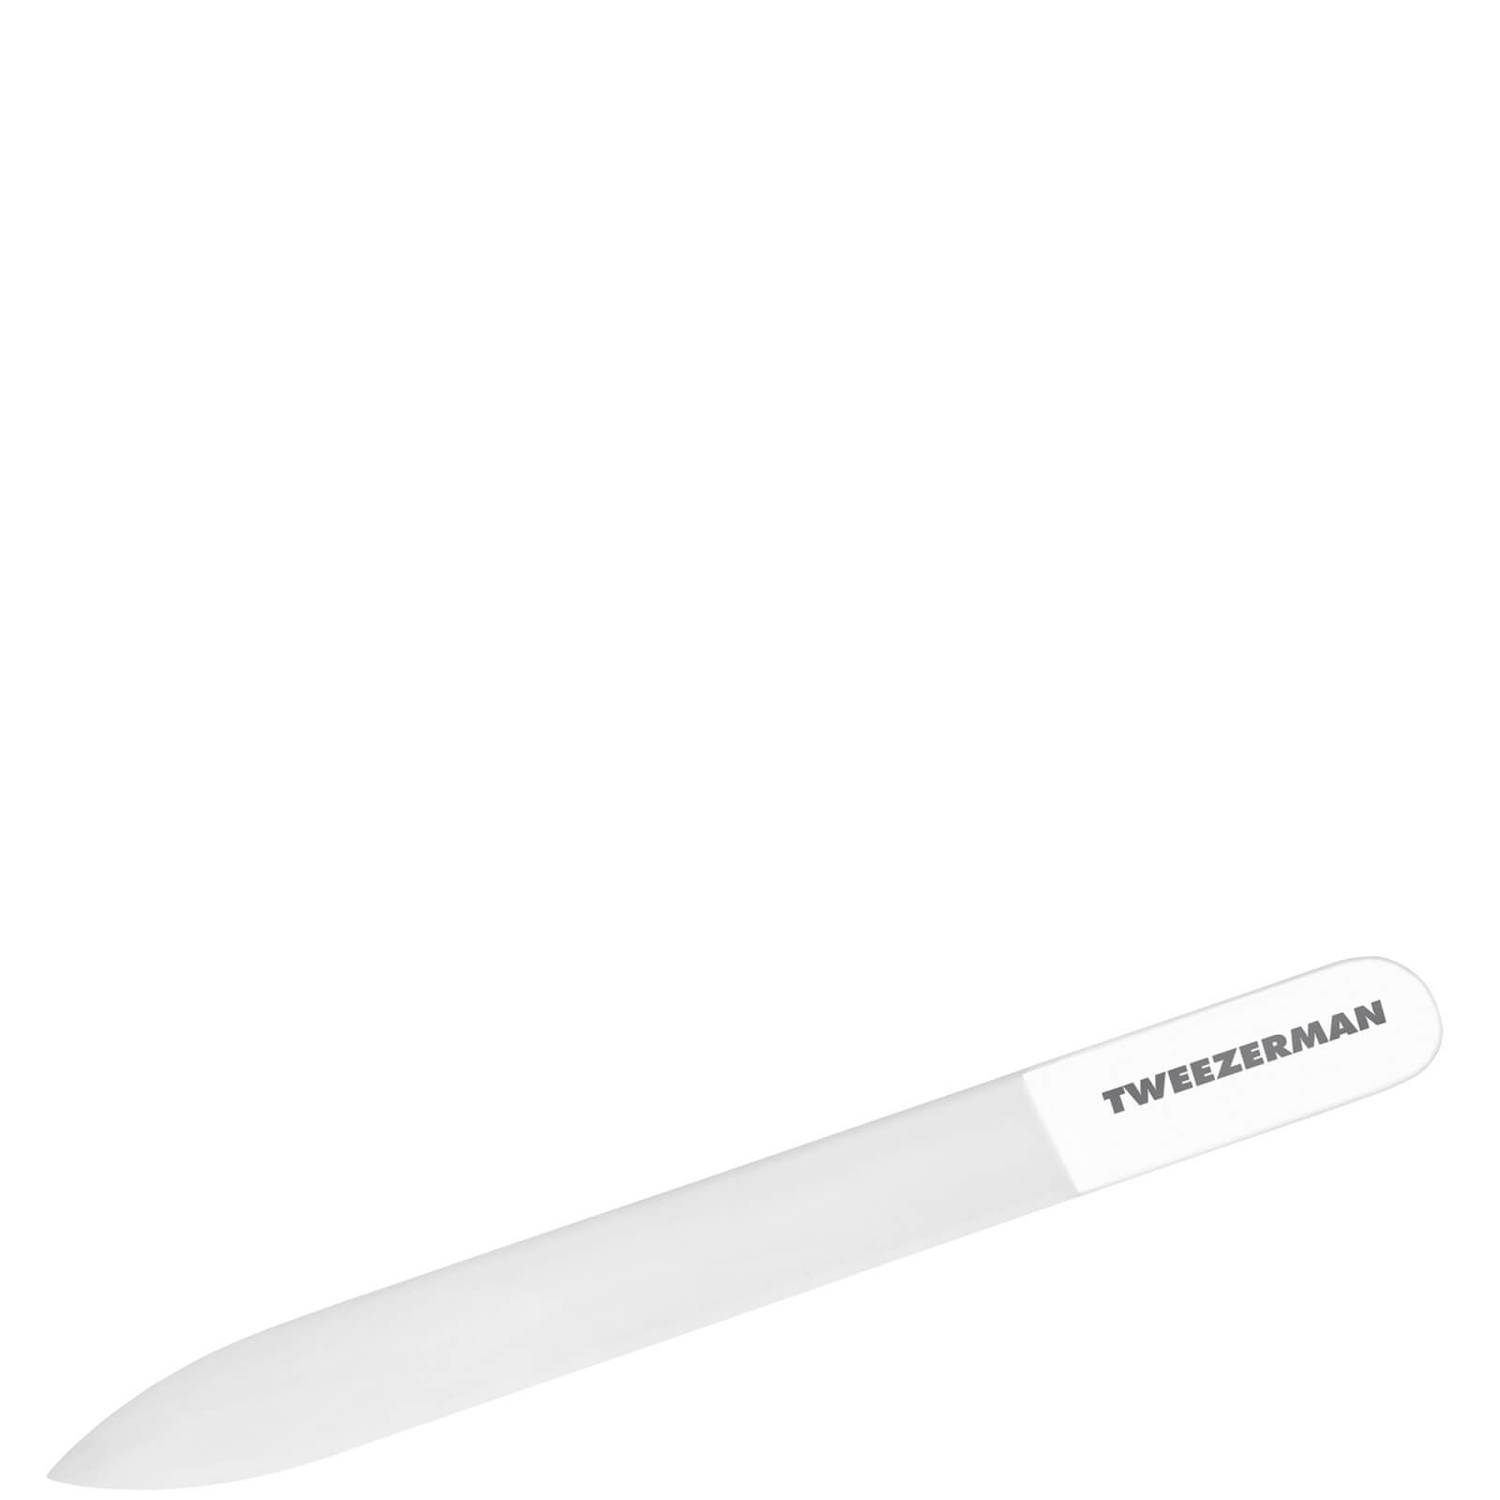
To play it safe, Bamber recommends using a glass nail file if you’re attempting an at-home manicure. “They’re much better for your nails as they’re less likely to cause splits and are also more hygienic since they can be washed after each use,” she adds.
If you want to take length off your nails then Bamber advises using nail clippers, rather than a file. “This will help to keep your nails strong, plus it saves you time,” she adds. “Then you can go back in with your file to add shape and smooth things off.”
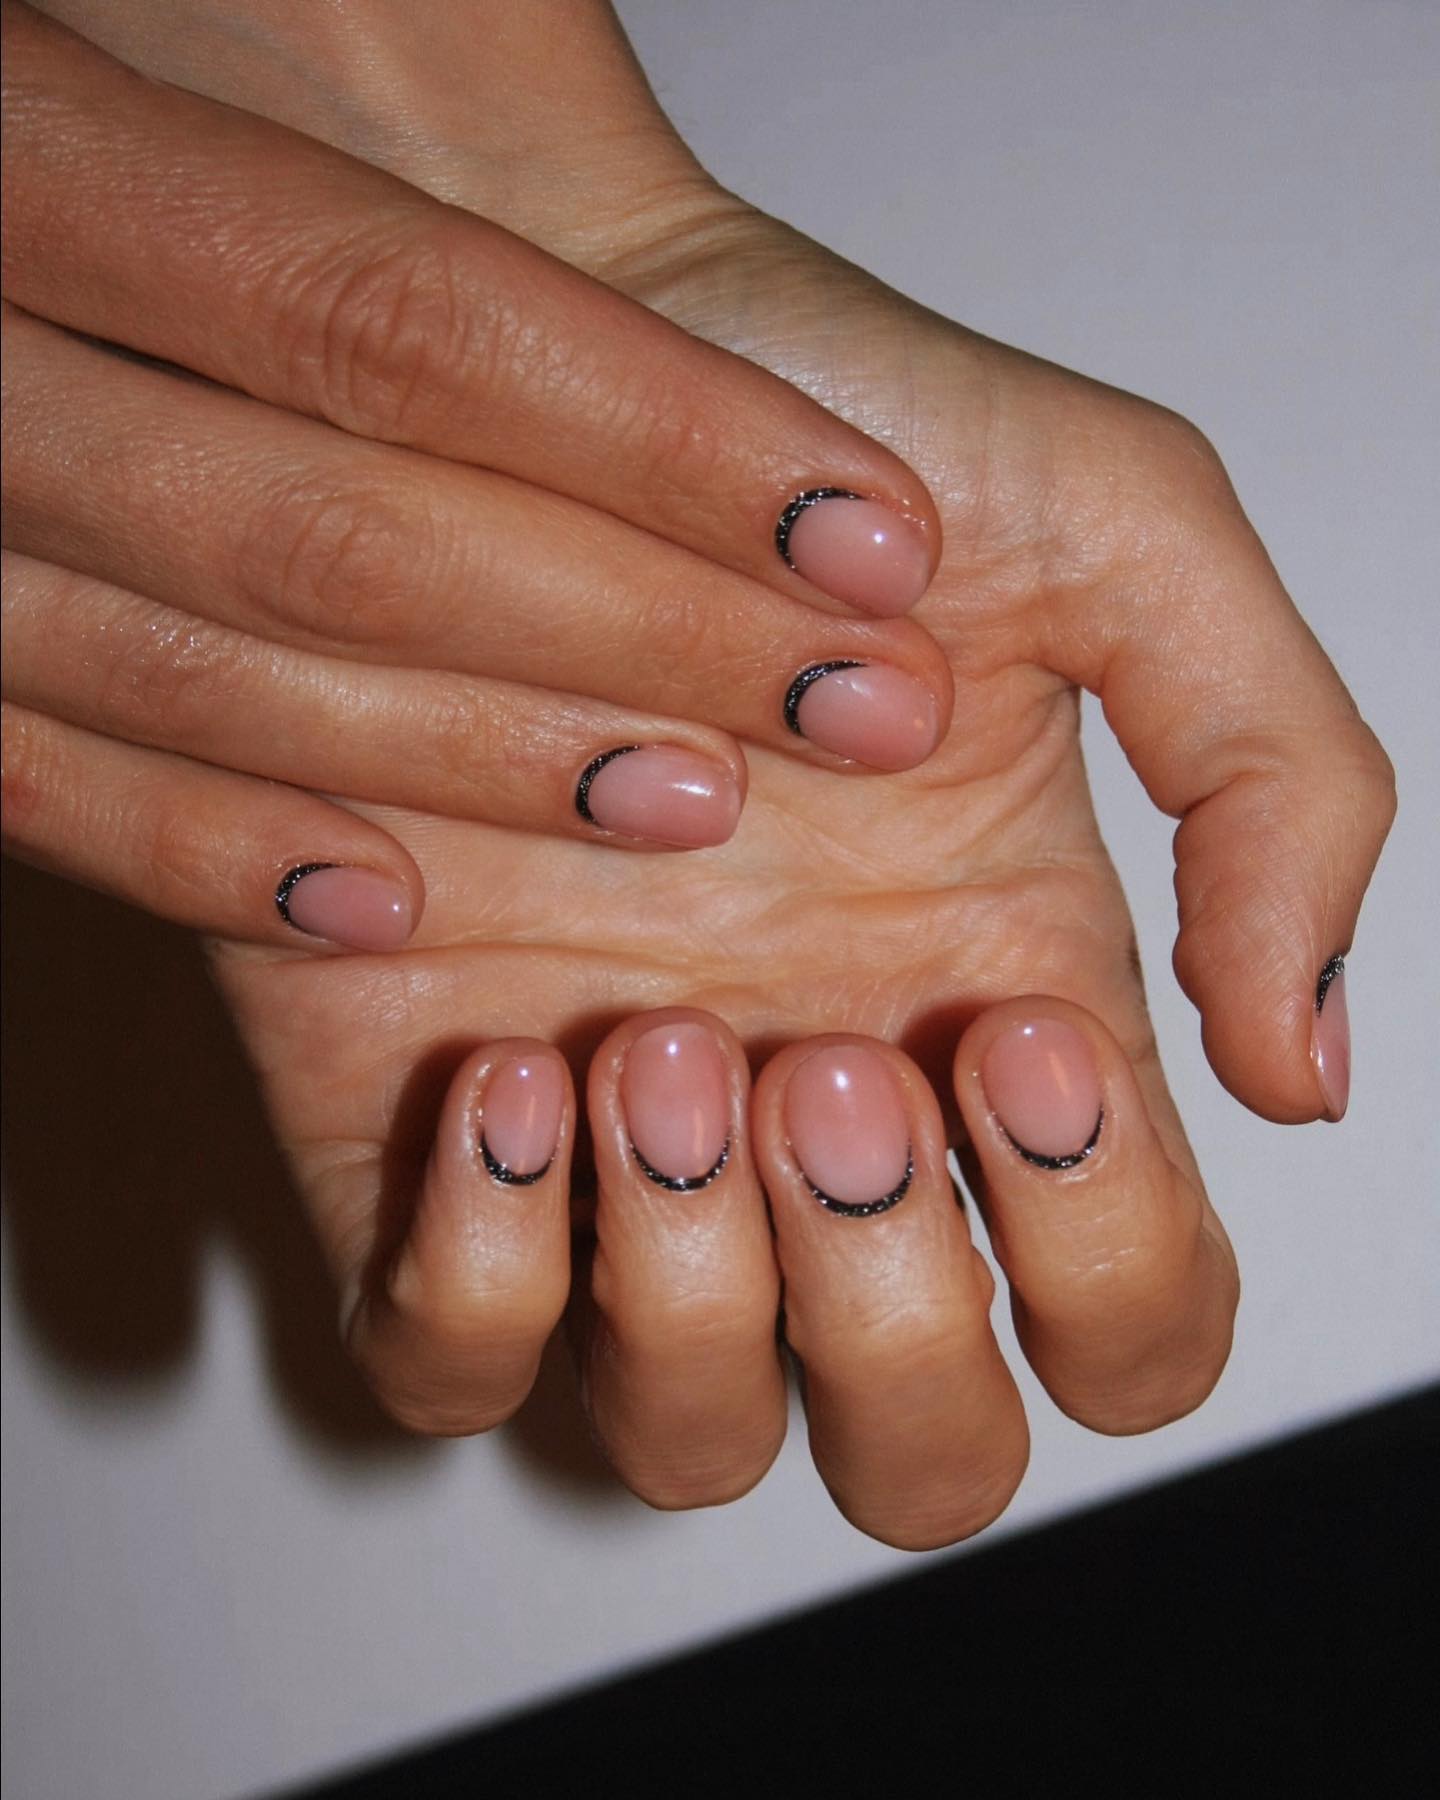
To create a more elongated or almond-shaped nail, Bamber recommends focussing your filing at the ends of your nails so you keep length in the point. “The easiest nail shape to do is a rounded one because you’re essentially following the natural shape of your fingertip and filing evenly across it,” she adds.
The most important thing to remember when filing your nails is to file in one direction. “It’s tempting to do so, but never file your nails back and forth,” advises Bamber. “I see so many clients do this and it always leads to splitting and breakage which weakens and damages the nails in the long term.”
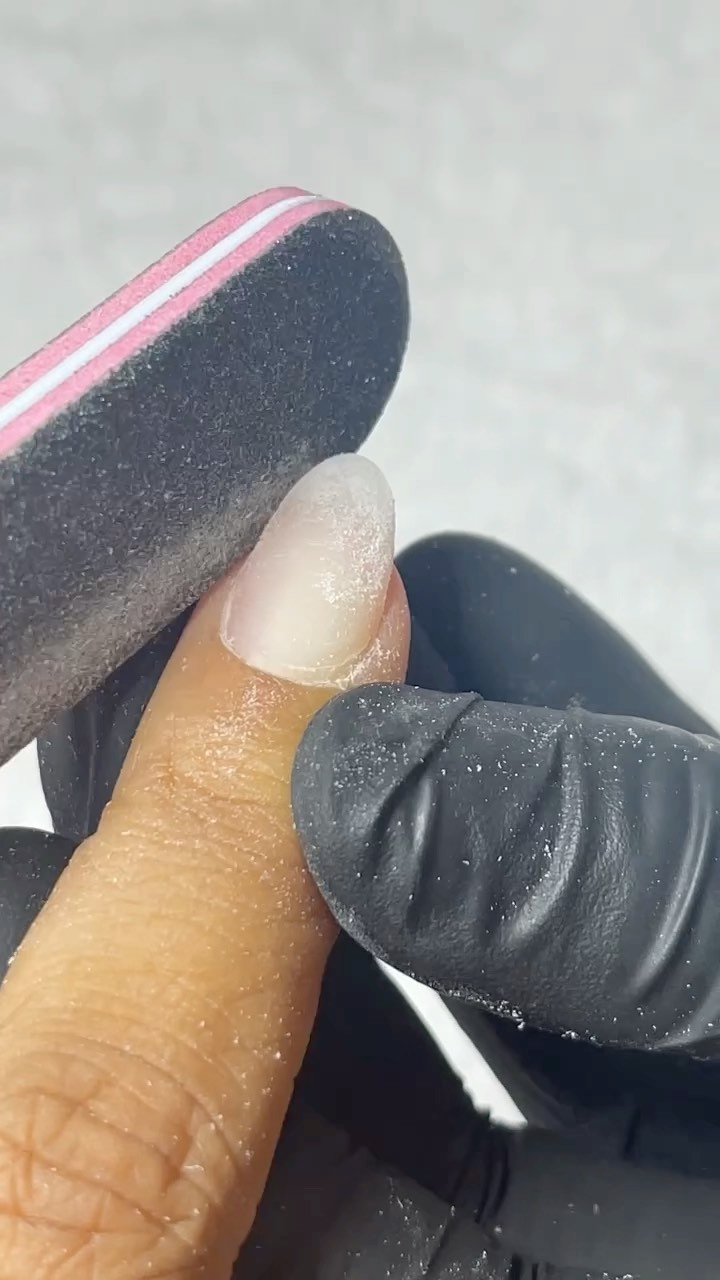
“To enhance natural shine and to prep the nail well for polish, I’d always advise using a 240 buffer file on top of the nail as the final step in your at-home manicure,” says Bamber. “This helps to smooth out any ridges or texture so your polish adheres really well.” She also advises taking a slow and steady approach to filing. “It’s so easy to overdo it and take off too much length, especially if you’re using a fresh nail file.”
Next Up: I Did the Research—These Are the Best Nail Strengtheners on the Market