

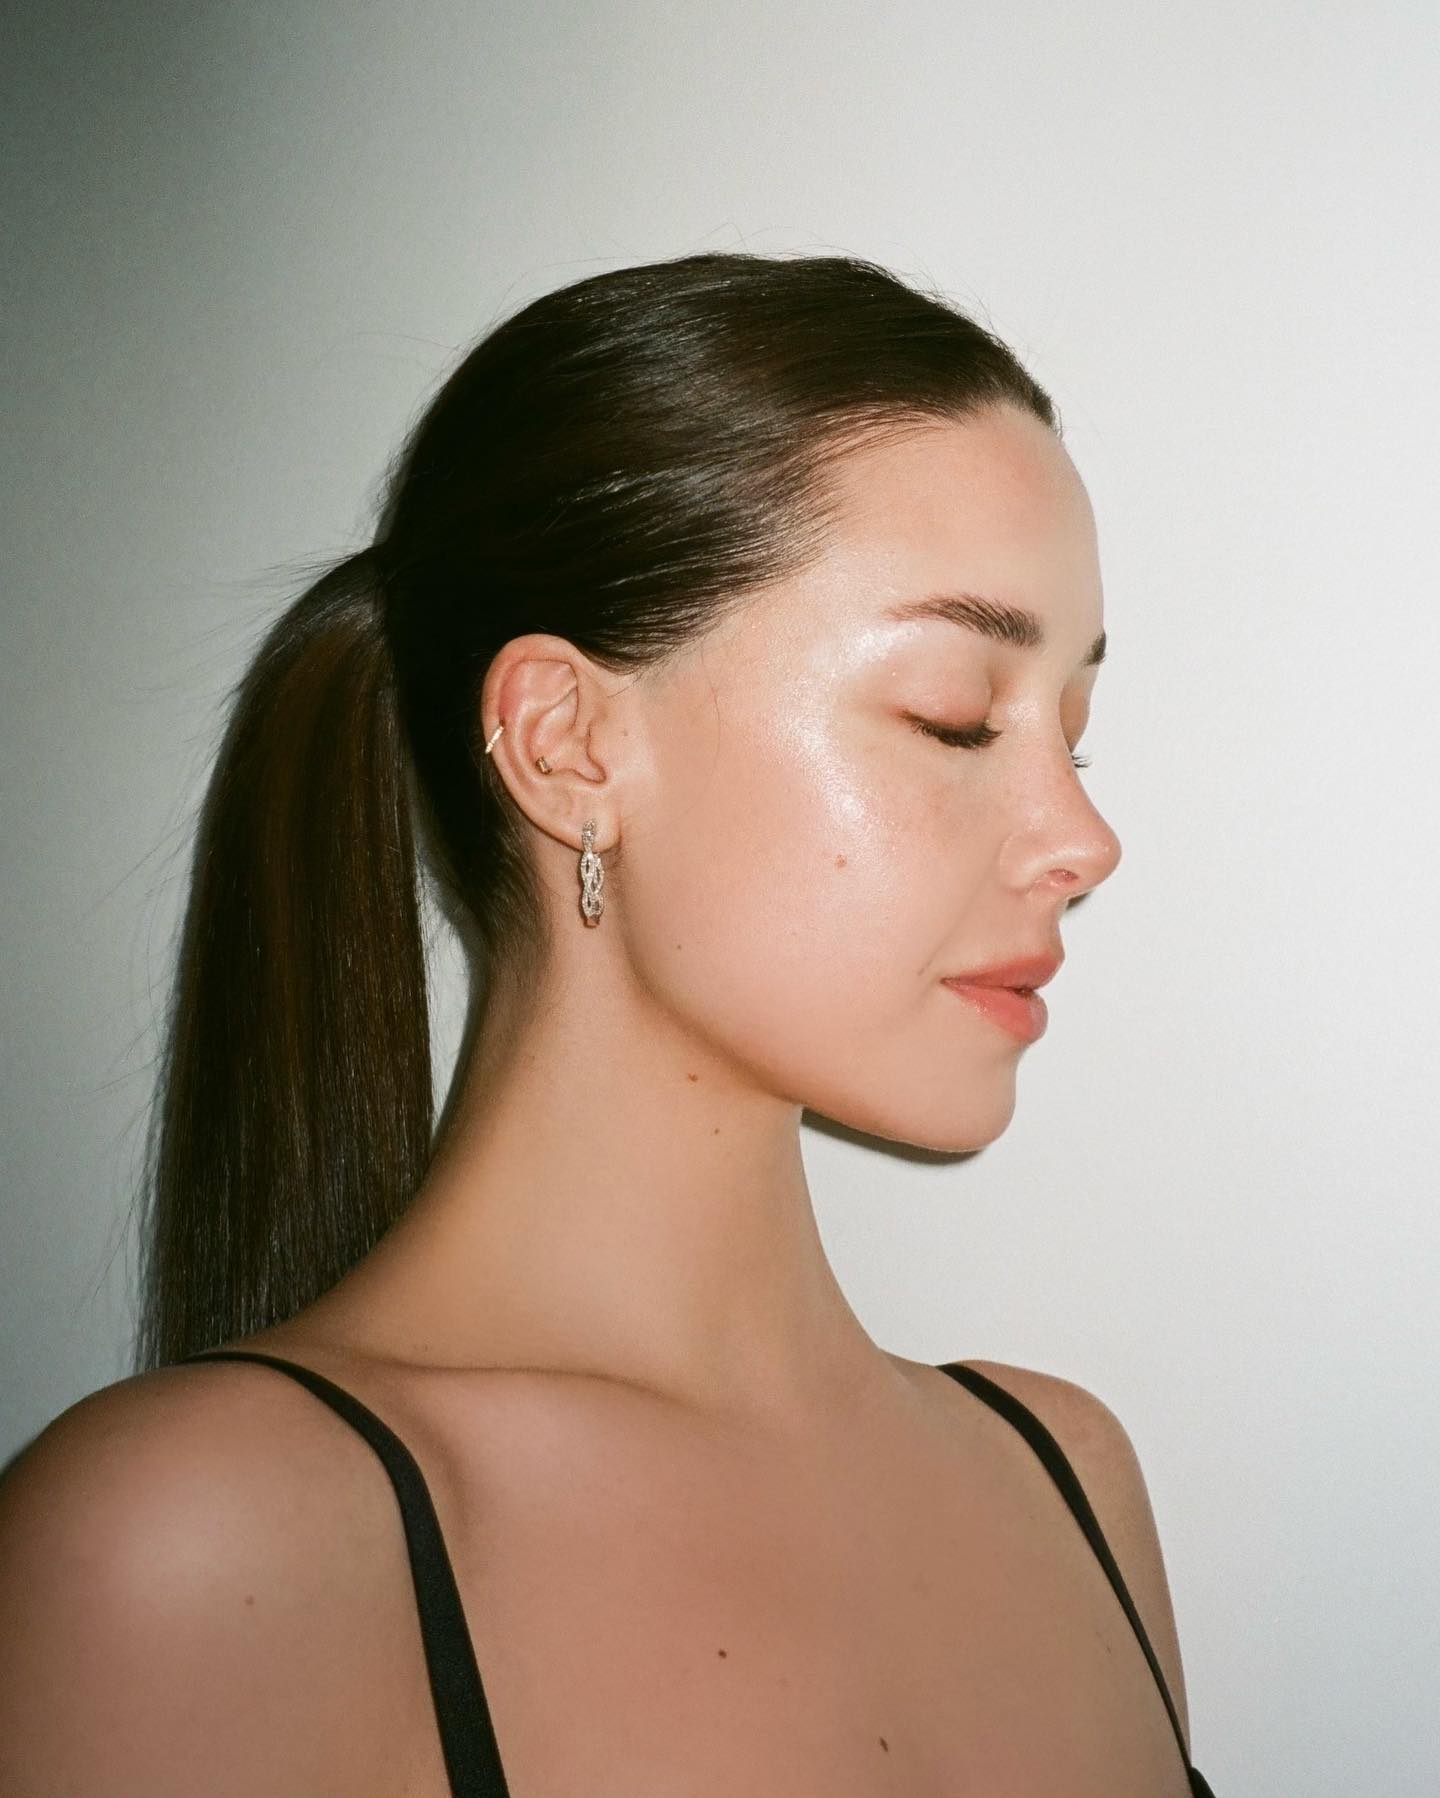
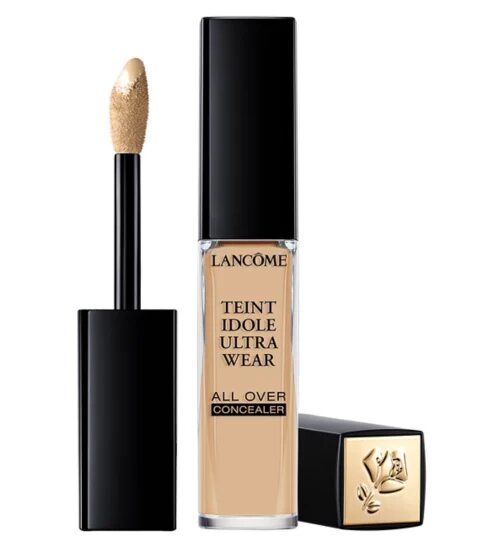
When it comes to makeup application, most people can agree on the basics—foundation needs to be buffed into skin, blusher needs a fluffy brush to diffuse pigment, and lipstick that’s dabbed on (rather than swiped) always lasts longer. But when it comes to figuring out how to apply concealer, what might seem like a fairly straightforward application process is actually a bit more complex.
The thing is, how you apply concealer differs depending on the type of product you’re using and on where you’re applying it. Perhaps you’ve wondered why your favourite concealer is great at covering spots but always creases under your eyes, or why even the thickest concealer application never seems to last past midday? To brief you on how to apply concealer, plus how to find a formula that works for you, we chatted with makeup artist’s Emily Clarkson and Lucy Hart for their must-have tips on taking your concealer game to the next level.
“Concealer is an essential in my make-up kit for so many reasons,” says Clarkson. “From covering blemishes, to brightening the under eye or adding that extra bit of coverage just where needed—I also love to use a fuller coverage concealer with a really light-weight base to make the perfect custom coverage for my client.” It’s true, concealer is a really versatile product which can be used for everything from sculpting and contouring as well as for concealing and covering. “You can use it to lift dark circles under the eye, contour the eye socket to add definition, make the nose appear smaller, and even use it under your contour for sharper looking cheek bones,” adds Clarkson.
Like any makeup product, if you want to achieve a flawless finish and long-lasting coverage, application techniques make all the difference. “Placement and texture is important when it comes to concealing as adding too much or the wrong product can emphasis the area and draw attention,” explains Clarkson. “For example applying the wrong texture of concealer under the eye can be ageing and drying on the skin.”

Likewise, when you apply your concealer is also important. Clarkson recommends applying foundation first, doing any work on the brows and eyes, and then applying concealer. “I sometimes do cream bronzers before concealing too as you’ll apply less product that way around,” she adds. “And you’ll have even less chance of creasing and over-applying.”
Of course, the tools you use to apply concealer are also crucial. “Personally for me I love brushes for spots and fingertips for under eyes,” says Clarkson. “I don’t tend to use sponges so much at work but for personal use they’re great. You can even get small sponges perfect for under the eye and mini powder puffs for setting.” Hart however is a big of using sponges. “They’re great for around the eye area,” she explains. “Use the sponge to tap the concealer in so it lays flat on the skin and doesn’t crease.”
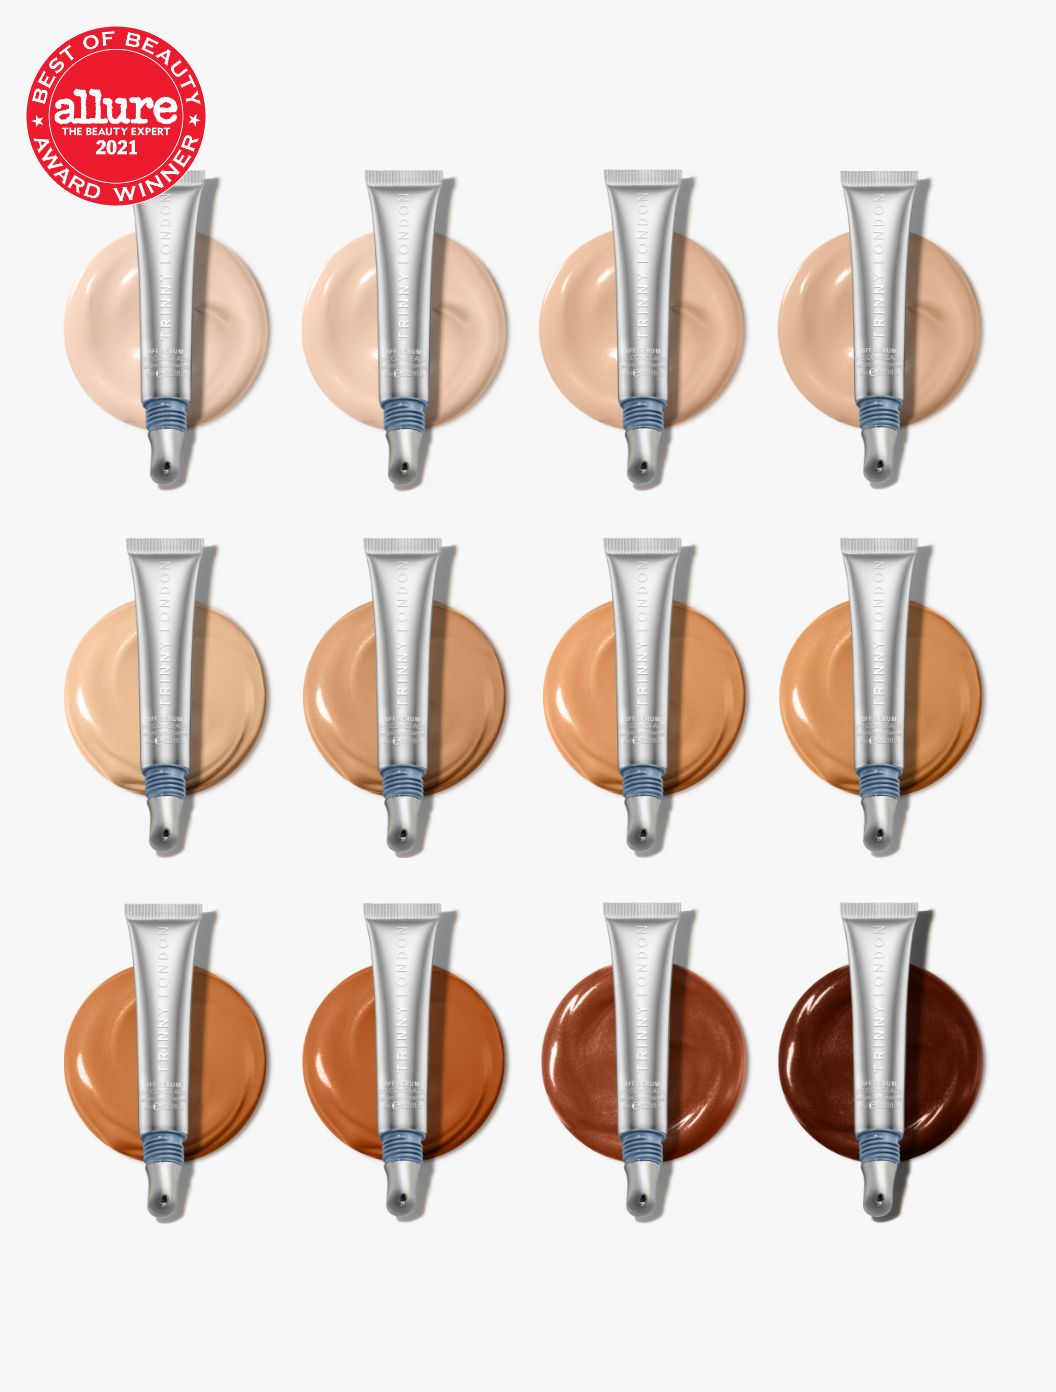
It’s important to note that there isn’t really a one-size-fits-all approach to concealing—the way you apply concealer and the types of concealer you use differ based on where on the face you’re applying the product. Below, Clarkson and Hart talk us through how to apply concealer to the under-eyes, to breakouts, and to general redness.
If you have dark circles under your eyes, then concealer is the best way to brighten them and even out any discolouration. However, it’s important to use the right formula since makeup easily creases in the eye area due to the skin here being thin and frequently moving. According to Hart, light, creamy concealers which can be applied in thin layers are best for this area of the face. “Use light pressure and tapping or buffing motions, and always set a liquid concealer with a translucent powder to lock it in place,” she advises.
“Prepping skin with hydrating eye cream then using a brightening concealer with a serum-like texture is my favourite combination,” adds Clarkson. “I personally like to apply under eye concealer with my ring finger and really warm the product up on the back of my hand so you don’t over apply it.”
When it comes to concealing spots and breakouts, you’ll need a totally different type of product and a totally different application technique to those under under eyes. “For breakouts I like to use a small flat synthetic brush to apply spot concealer so you’re really packing the product on that specific area,” explains Clarkson, who prefers a thick texture consistency to cover blemishes. “I like to apply with the flat brush, then powder the product in place,” she adds. “You can then repeat those steps if necessary to really keep the product in place all day—light layers is the key to this technique!”
If you feel that adding concealer has had the opposite effect and actually highlighted the breakouts, Hart has a handy tip. “Remove excess pigment off the brush and gently buff around the blemish,” she explains. “This will help to concealer to blend more naturally with the skin so it appears less obvious.”
![]()

You may notice that if you have redness on your face, it’s much worse on the centre of your face, around the bottom on your nose. “This is super common and always the first place any redness starts to show through,” explains Clarkson. “For overall redness I like to mix my concealer with a pea sized amount of moisturiser to sheer it out even further for a more controlled amount of product and a much more natural look.”
For application, she advises using a fluffy brush, almost like an eyeshadow blending brush. “I load up the brush with product and lightly glide around those parts where redness shows through,” she explains. In terms of the best concealers to use for overall redness, Hart recommends looking for formulas that are hydrating but have high coverage. “For a natural finish, avoid anything too thick and just conceal the areas where redness is more noticeable. Then use a light base like a tinted moisturiser for the rest of your face.”
Next Up: Hailey Bieber’s Favourite Concealer Just Melted Away My Dark Circles