

Filing our nails is a thing we’ve probably all done at some point, even if you’re a *strictly salon* type of person. From furiously filling them in a rush so they look a little less ramshackle before a meeting—I’ve been there a lot—or maybe you’re more calculated, giving your nails a little TLC before a swipe of polish during an at-home mani. Either way, we want to chat about how to properly file your nails to prevent damage and sensitivity.
We know filing your nails may seem like NBD, but a few techniques will ensure you don’t damage your nails along the way. To get expert guidance on how to properly file your nails, we chatted with Nadine Abramcyk, co-founder of Tenoverten—a nail care brand with formulas that cleanse, nourish, color, and gloss, all without harmful ingredients. Now, let’s get into the process and best practices.
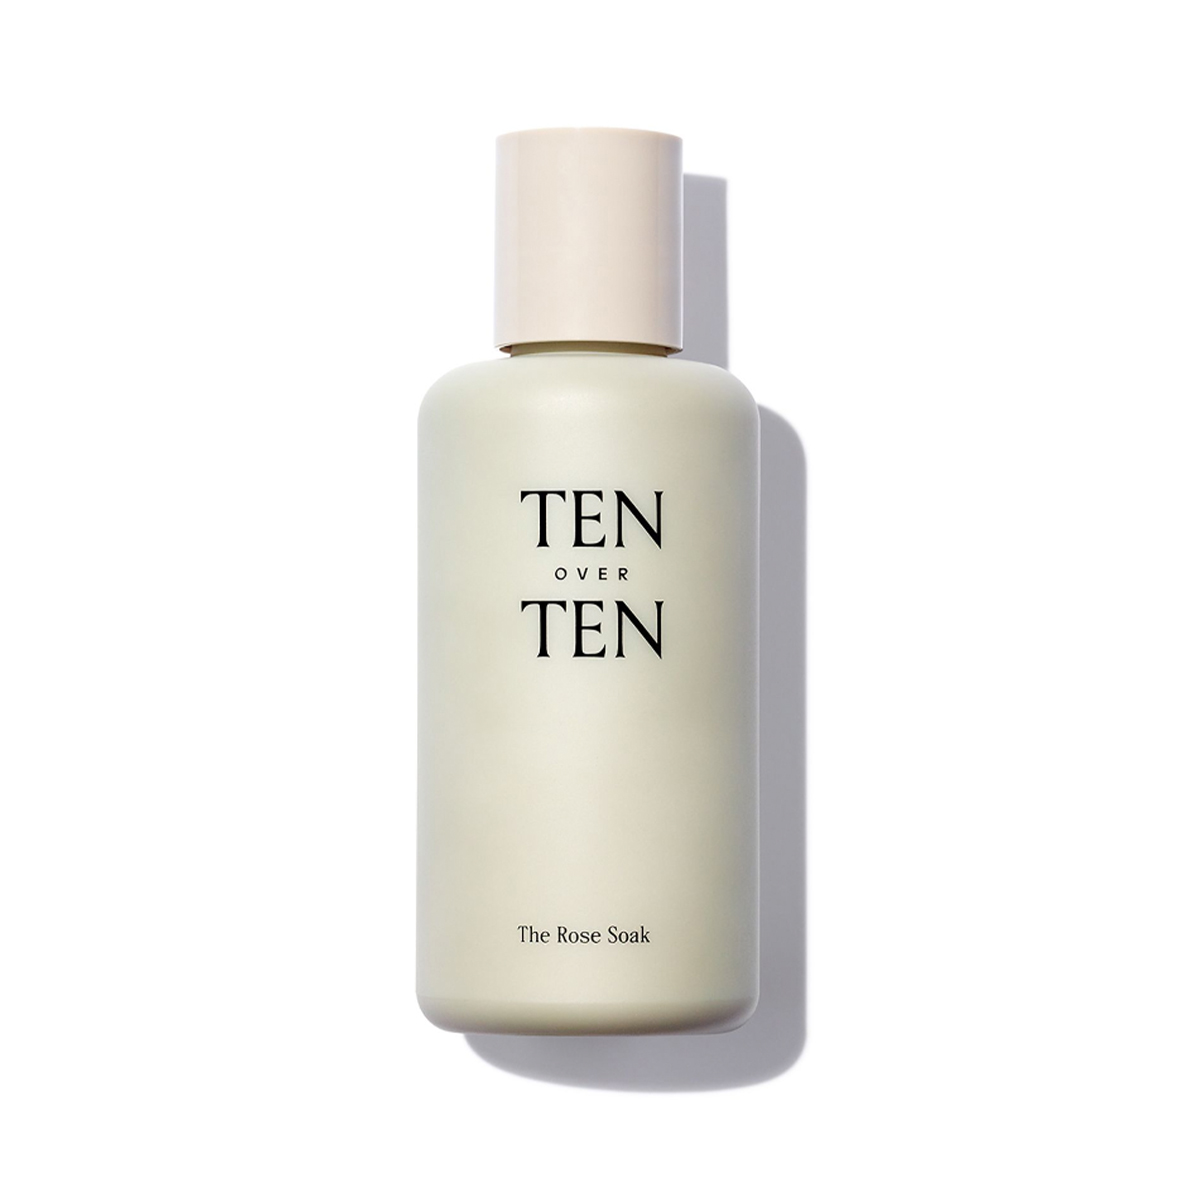
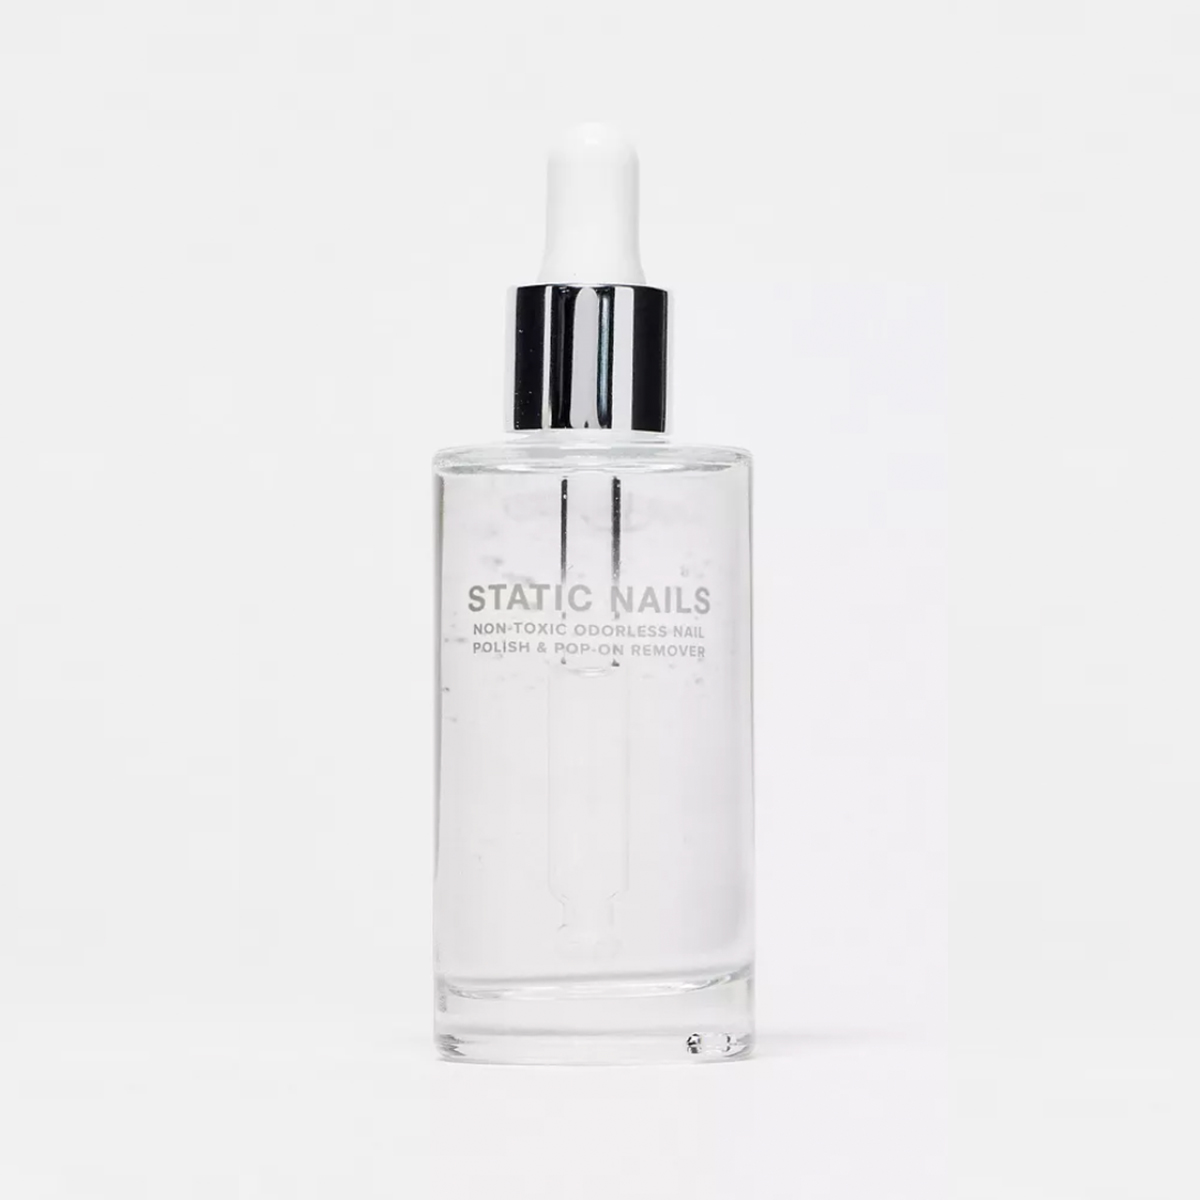
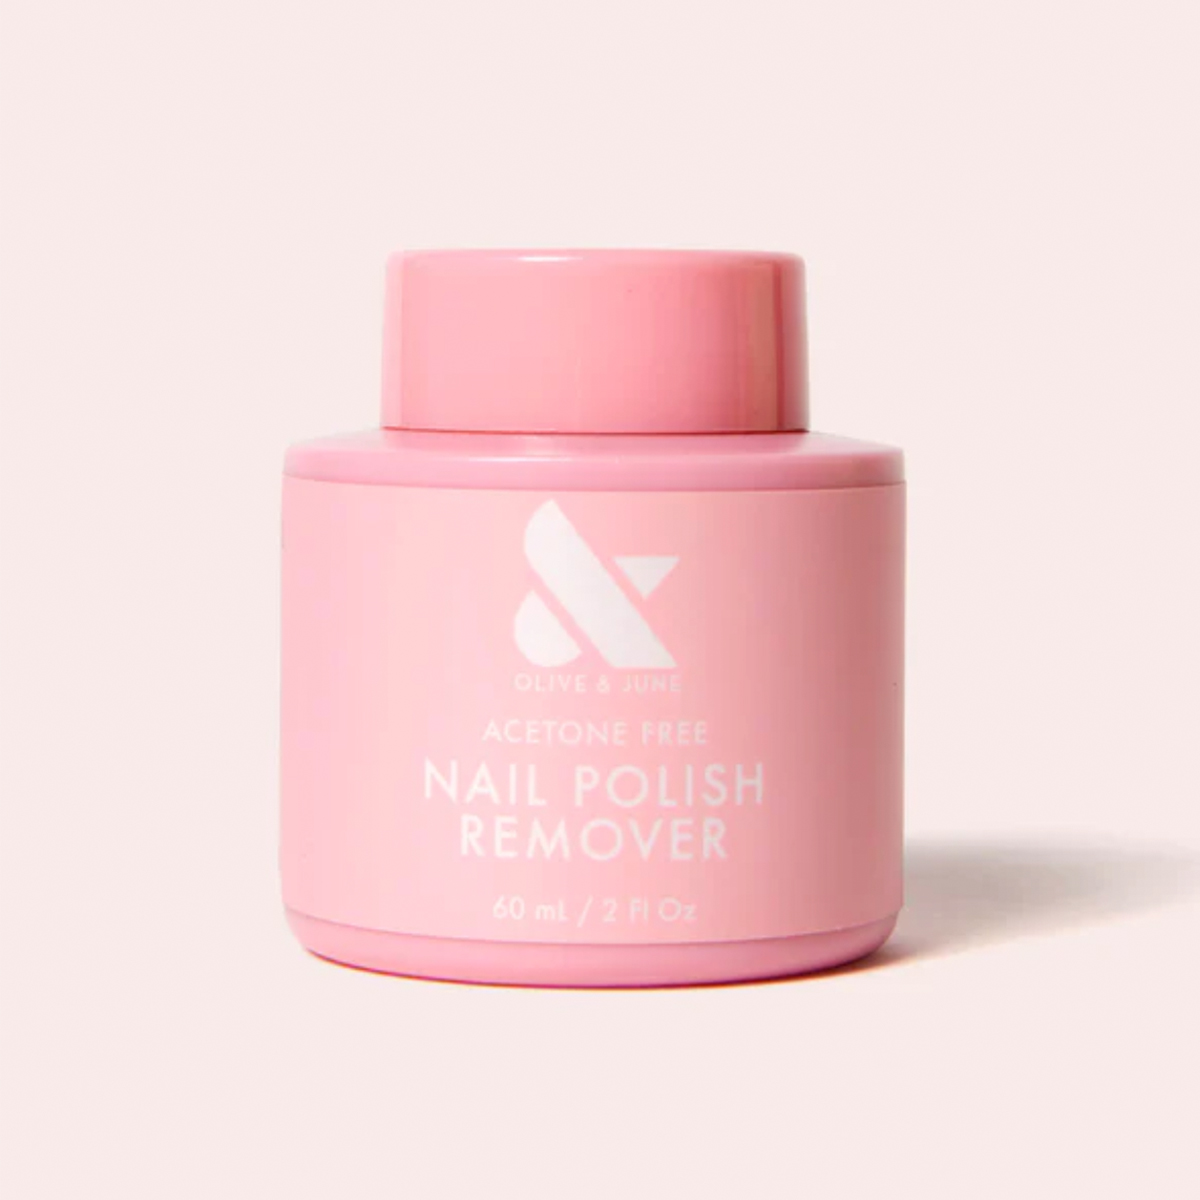
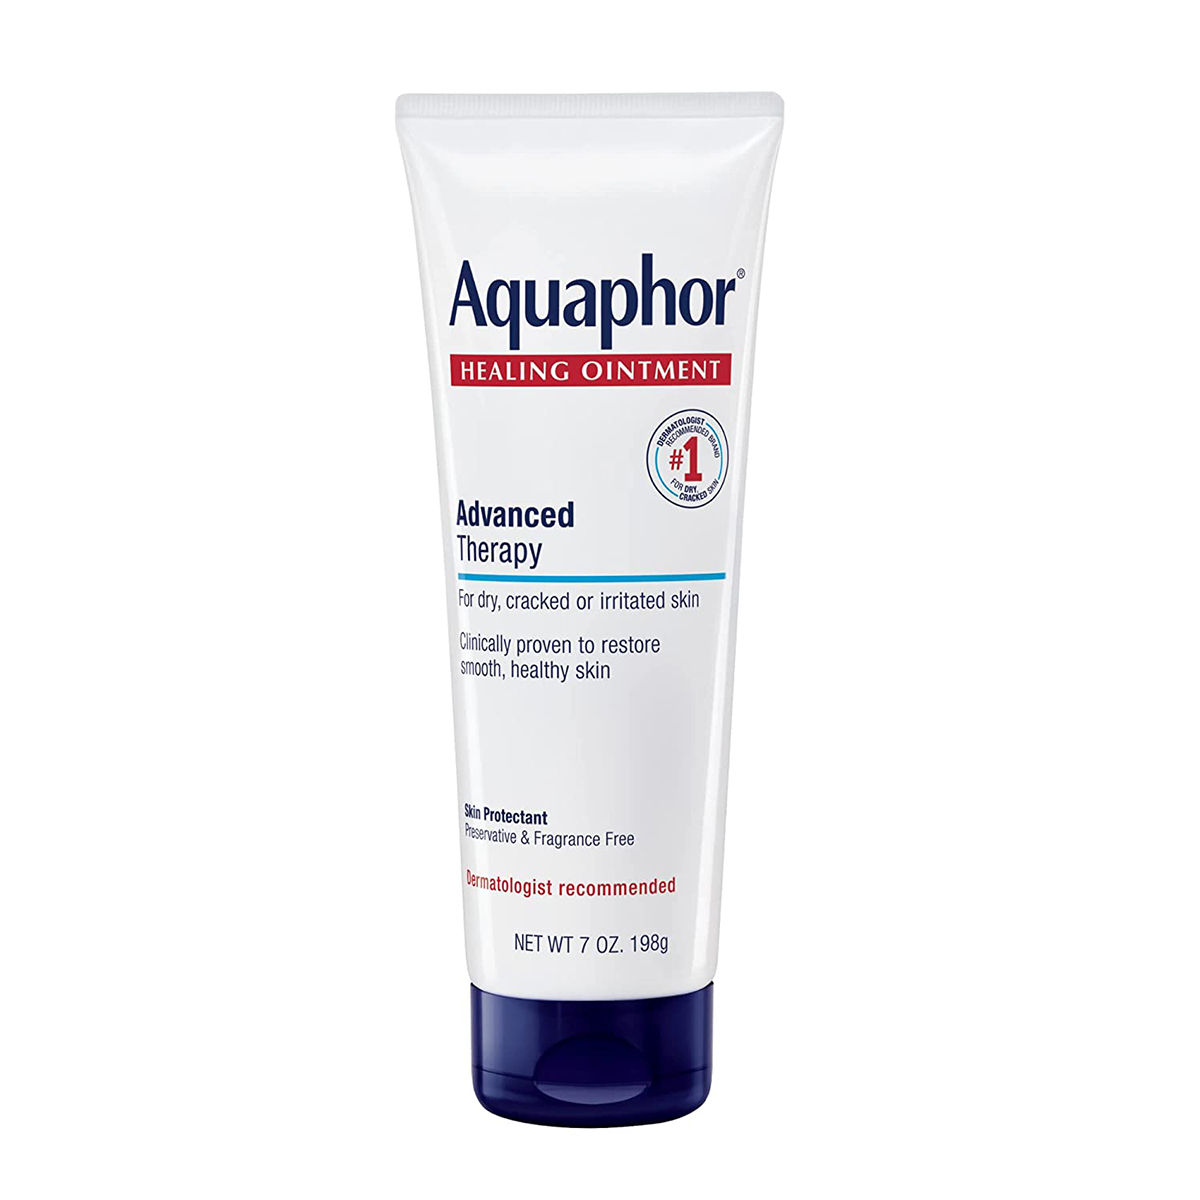
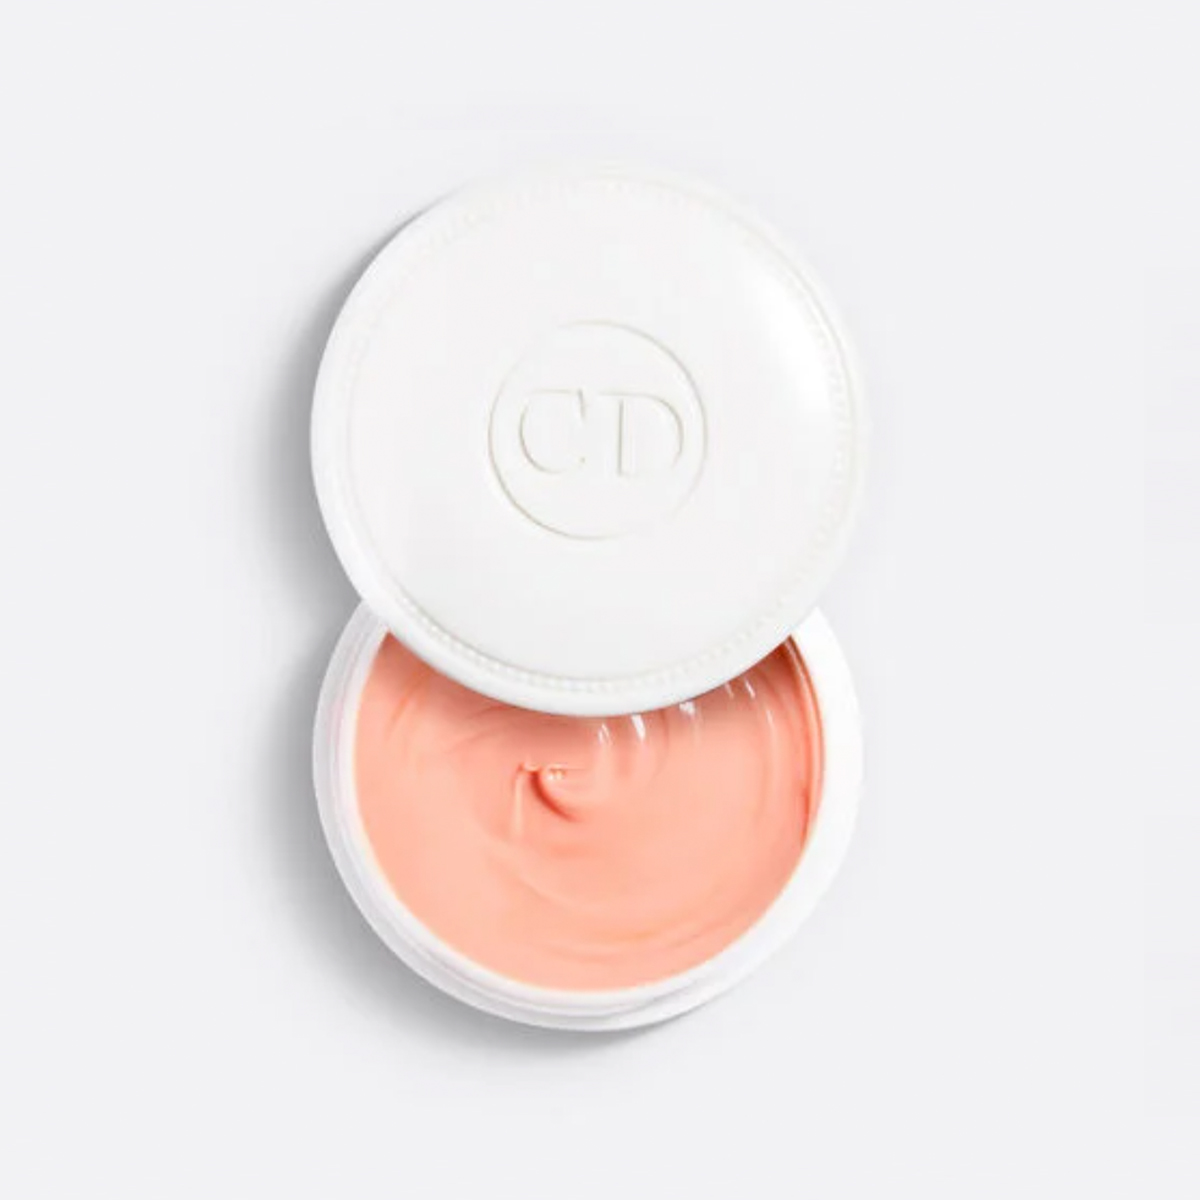
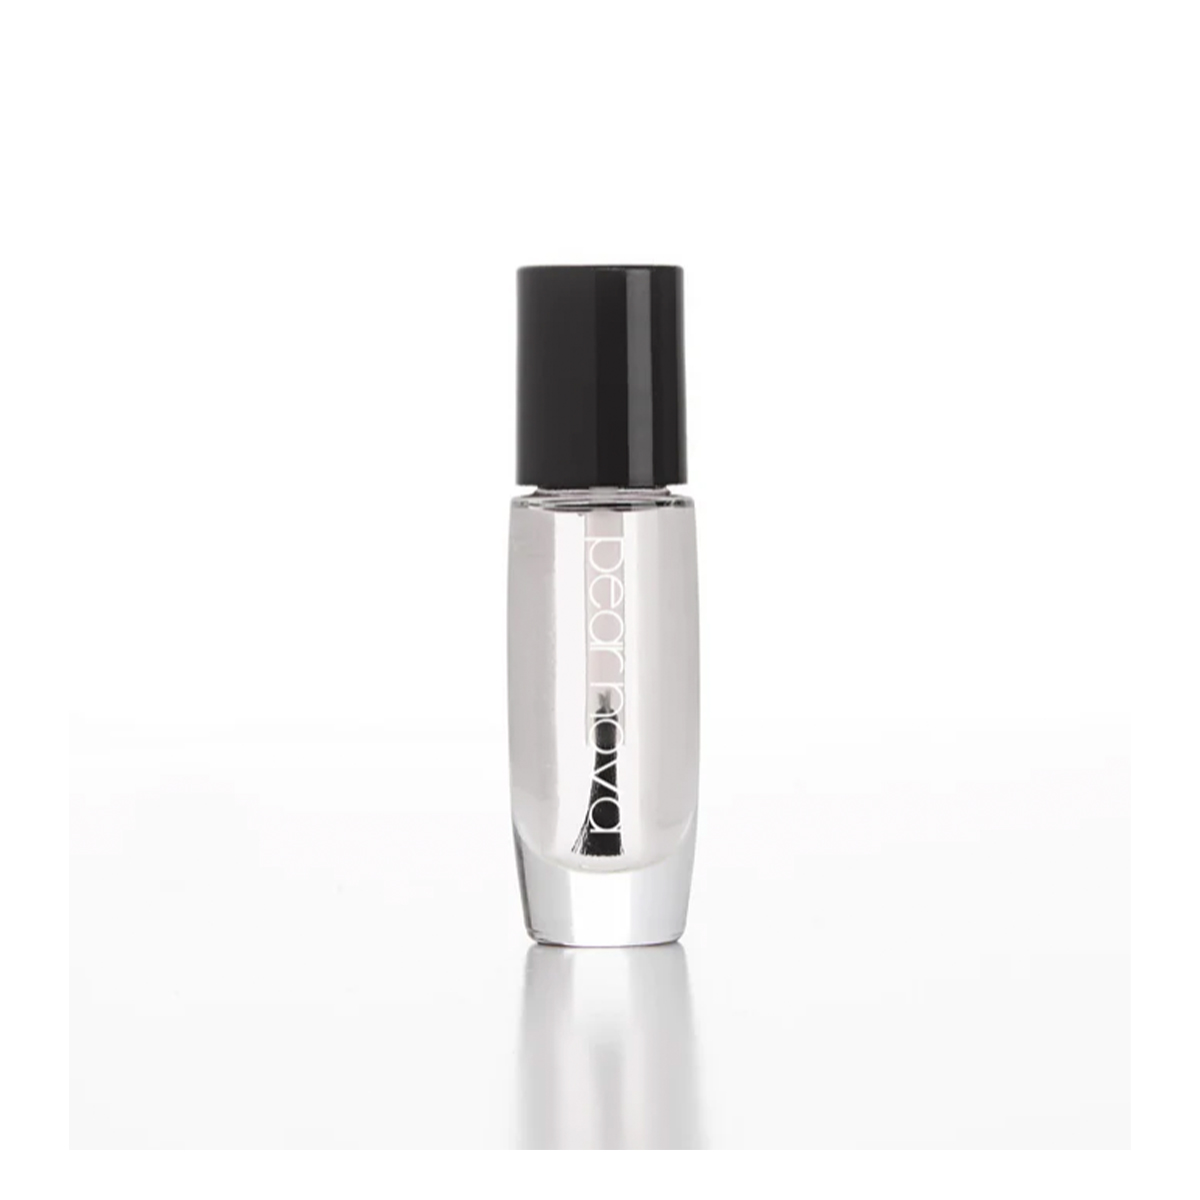
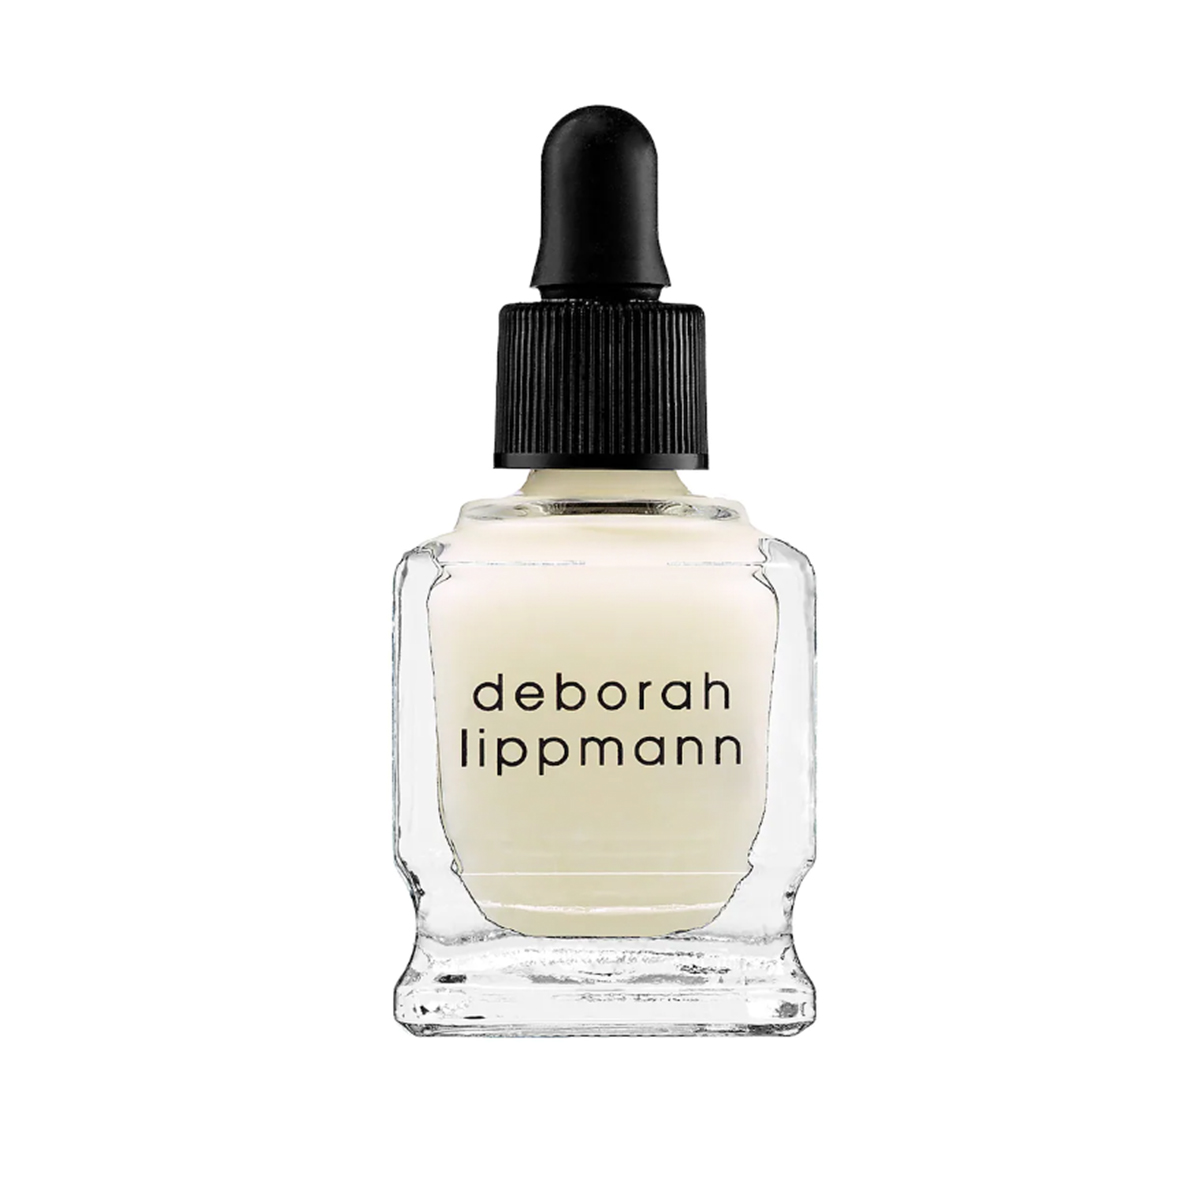
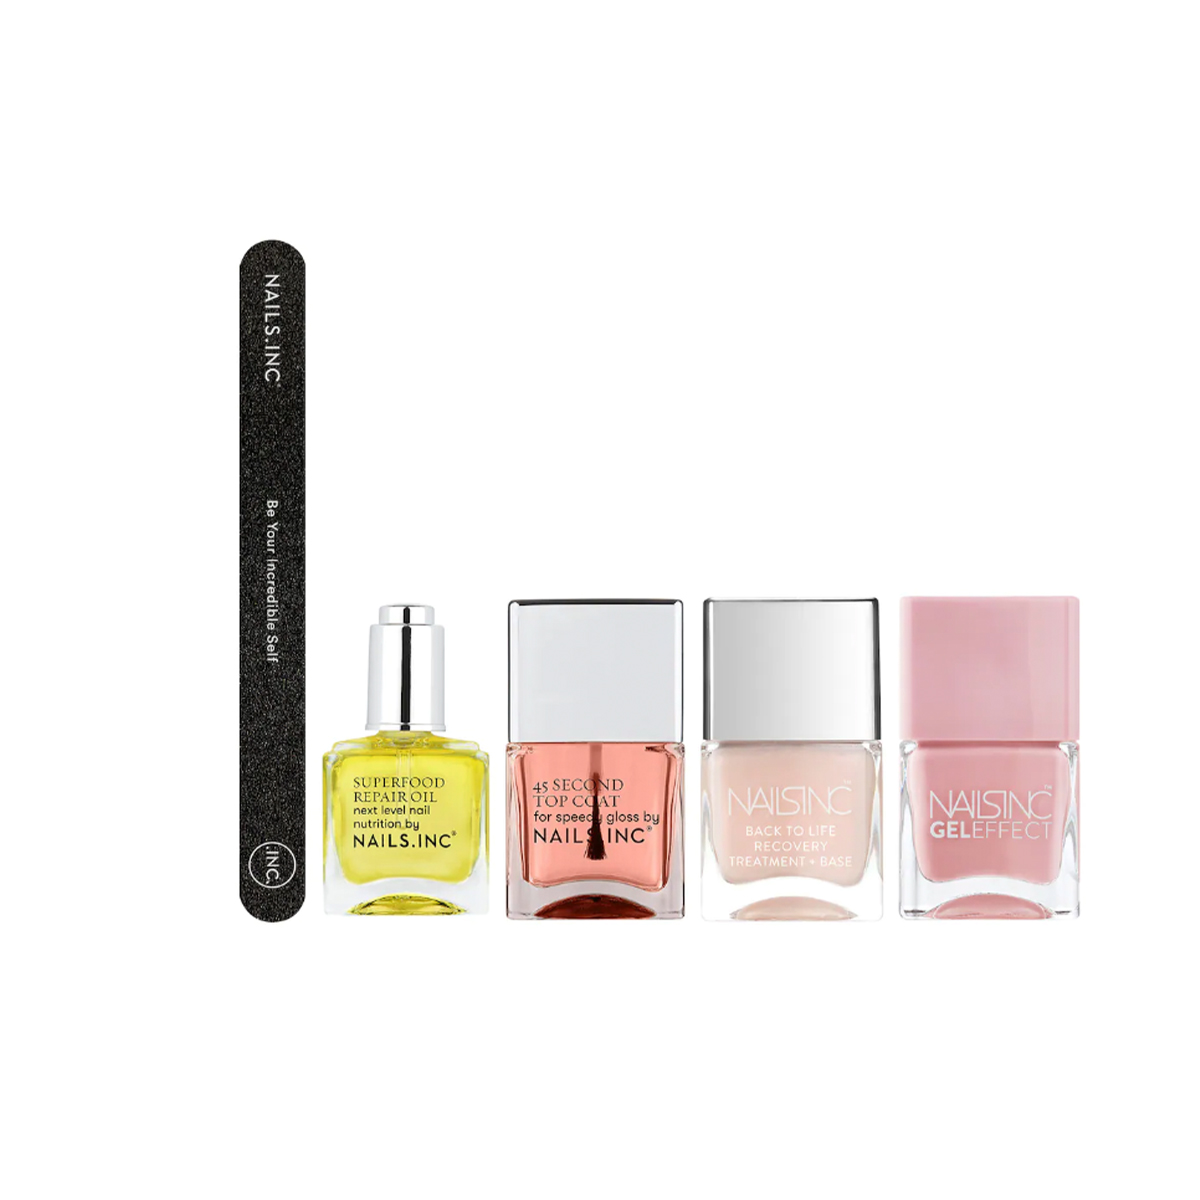
Do: Remove your polish. When you’re in a hurry, it can be tempting to skip nail prep, but it can be an essential step to keeping your nails looking and feeling their best. To start the nail prepping process, Abramcyk recommends always removing your nail polish before filing your nails. There are various options for nail polish remover, from acetone to natural and eco-friendly and everything in between. (Shop some of our faves, below.)
Don’t: Soak your nails. Soaking the nails is still a standard practice in many salons, but this step usually takes place post-filing. There’s a reason for this, Abramcyk shares. “Avoid soaking your fingers before filing as you don’t want to file your nails when wet,” she tells WWW. “If your nails have absorbed moisture, they will be softer and more susceptible to tearing in the filing process, so take care to use a file on dry nails only.”

Growing out your natural nails? Same here. And, buffing after filing, Abramcyk explains, can help give the nails a smooth canvas for treatment of polish even though she says it can be an often-overlooked part of the process. “Buffing is essential as it smoothes the edges of the nails and also eliminates any residual nail particles.”

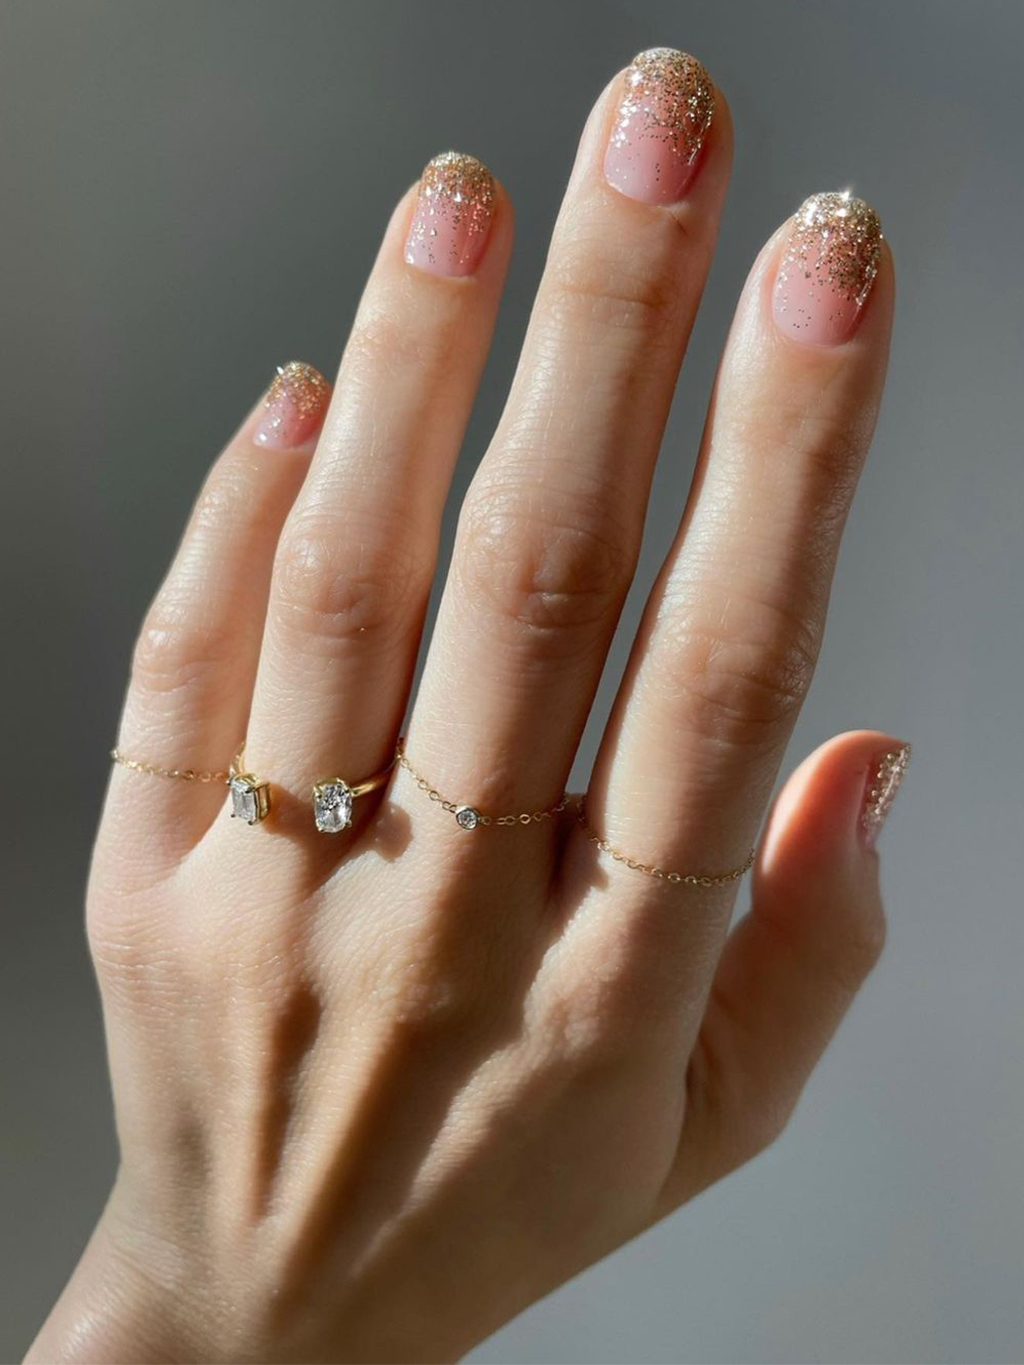
While filing may seem relatively simple, there is some technique and strategy behind creating the perfect nail shape and protecting your nails agains damage. “Start from the corner of the nail and inch towards the middle,” Abramcyk instructs. “Keep the file working in a single direction instead of moving back and forth, which creates the risk of tearing the nail. Finally, and most importantly, take your time. Nail filing requires patience to avoid over-filing and to achieve your preferred nail shape.”
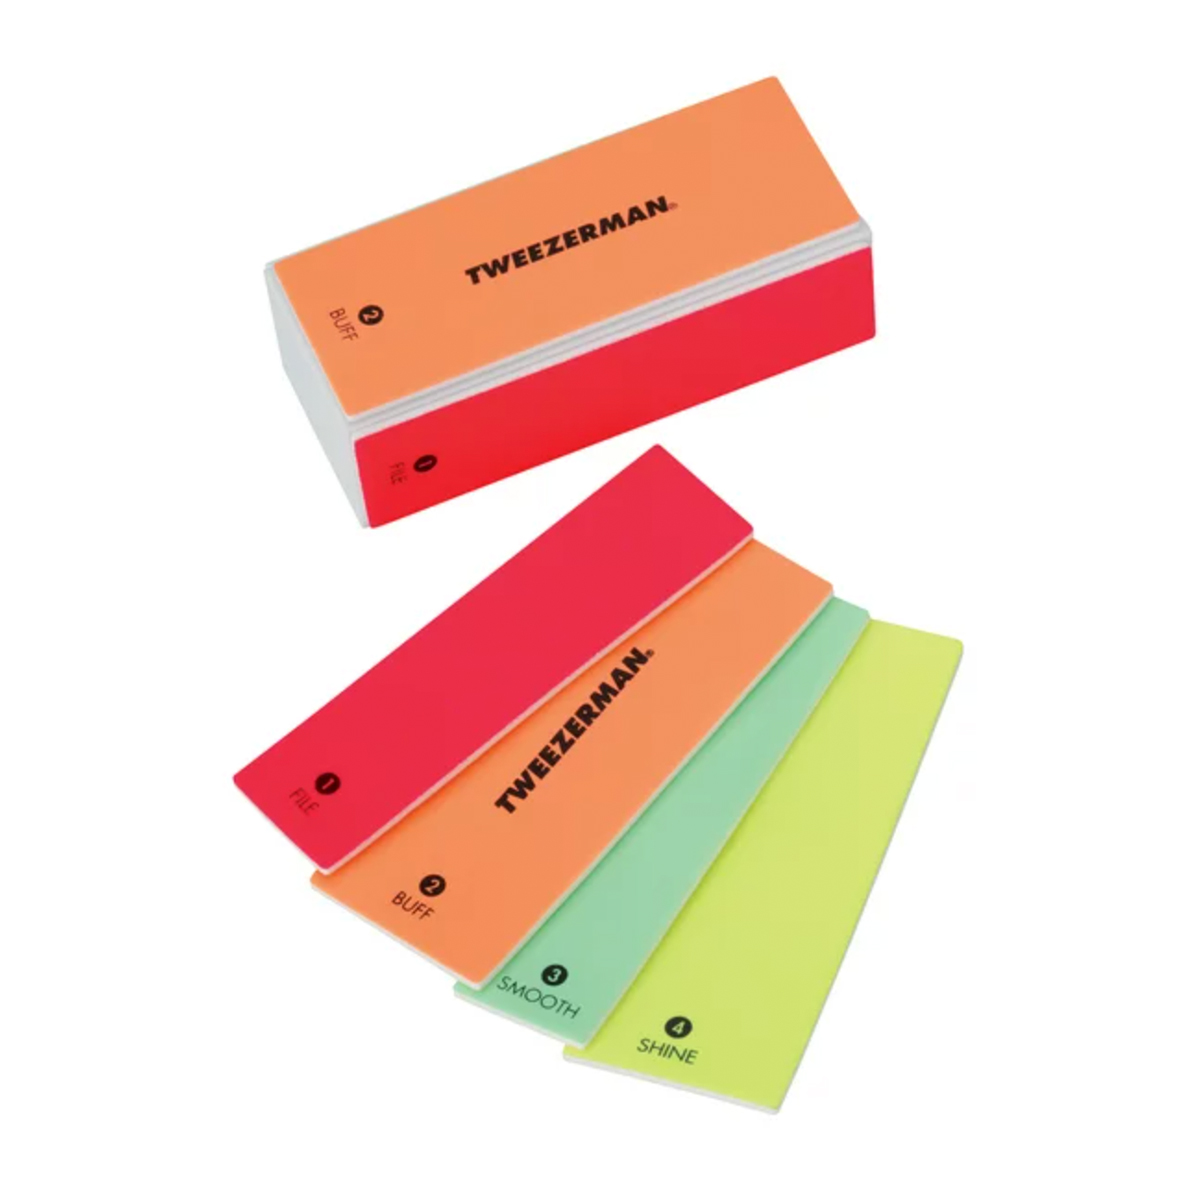
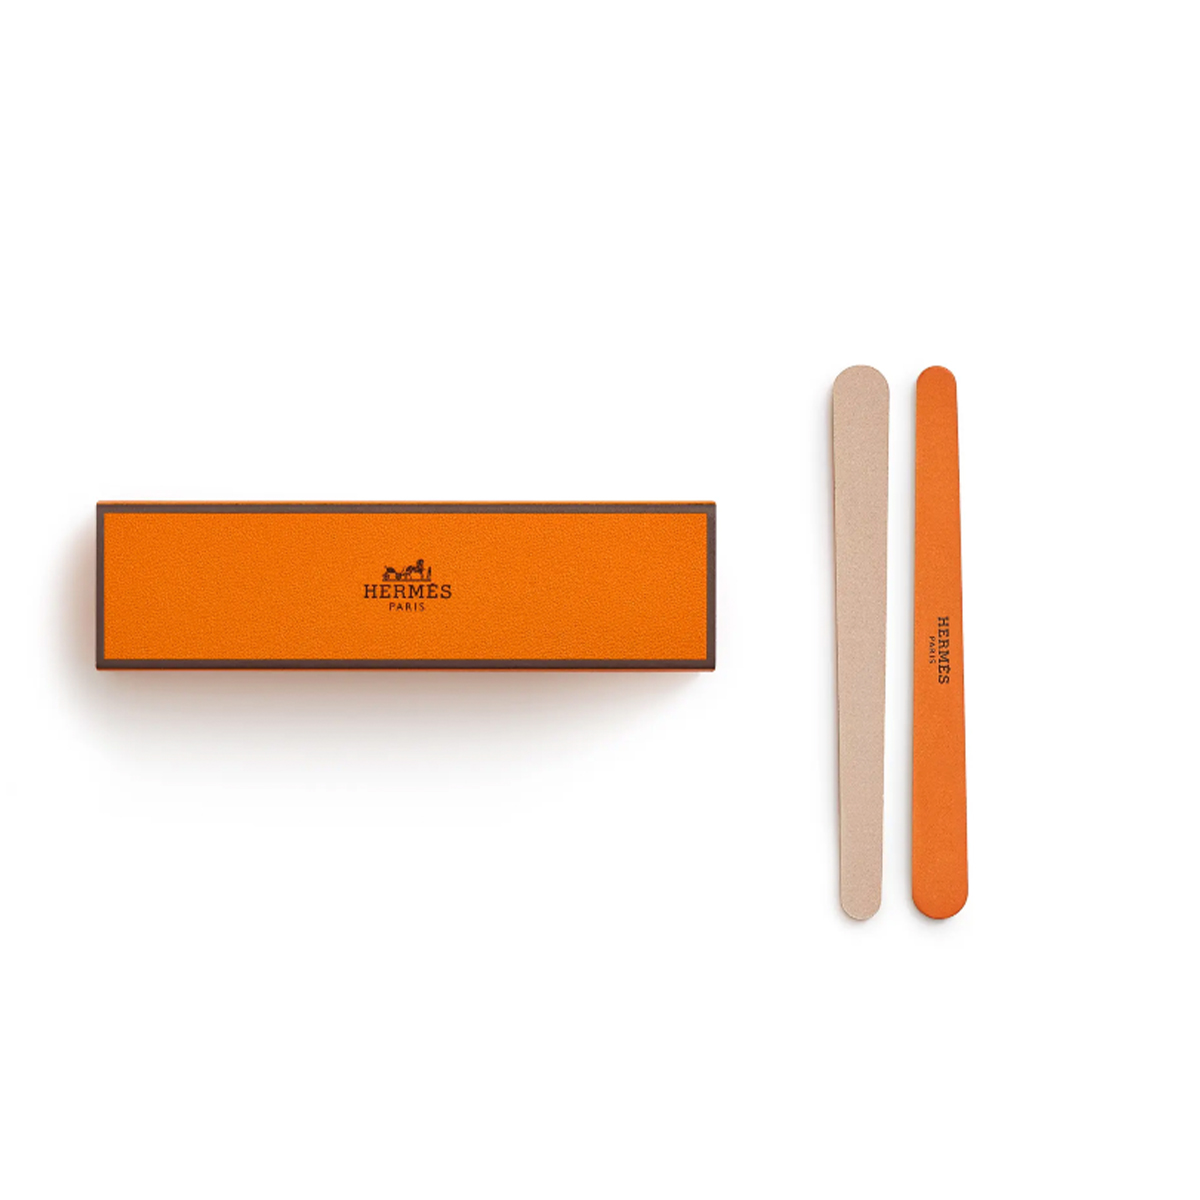
In nail salons, you’ll notice a range of nail files used. However, Abramcyk says you don’t necessarily need a different file for shaping or shortening a nail, as one file should be able to multitask. But she does note that keeping the git number of your file in mind is helpful. So, how do you select the correct number?
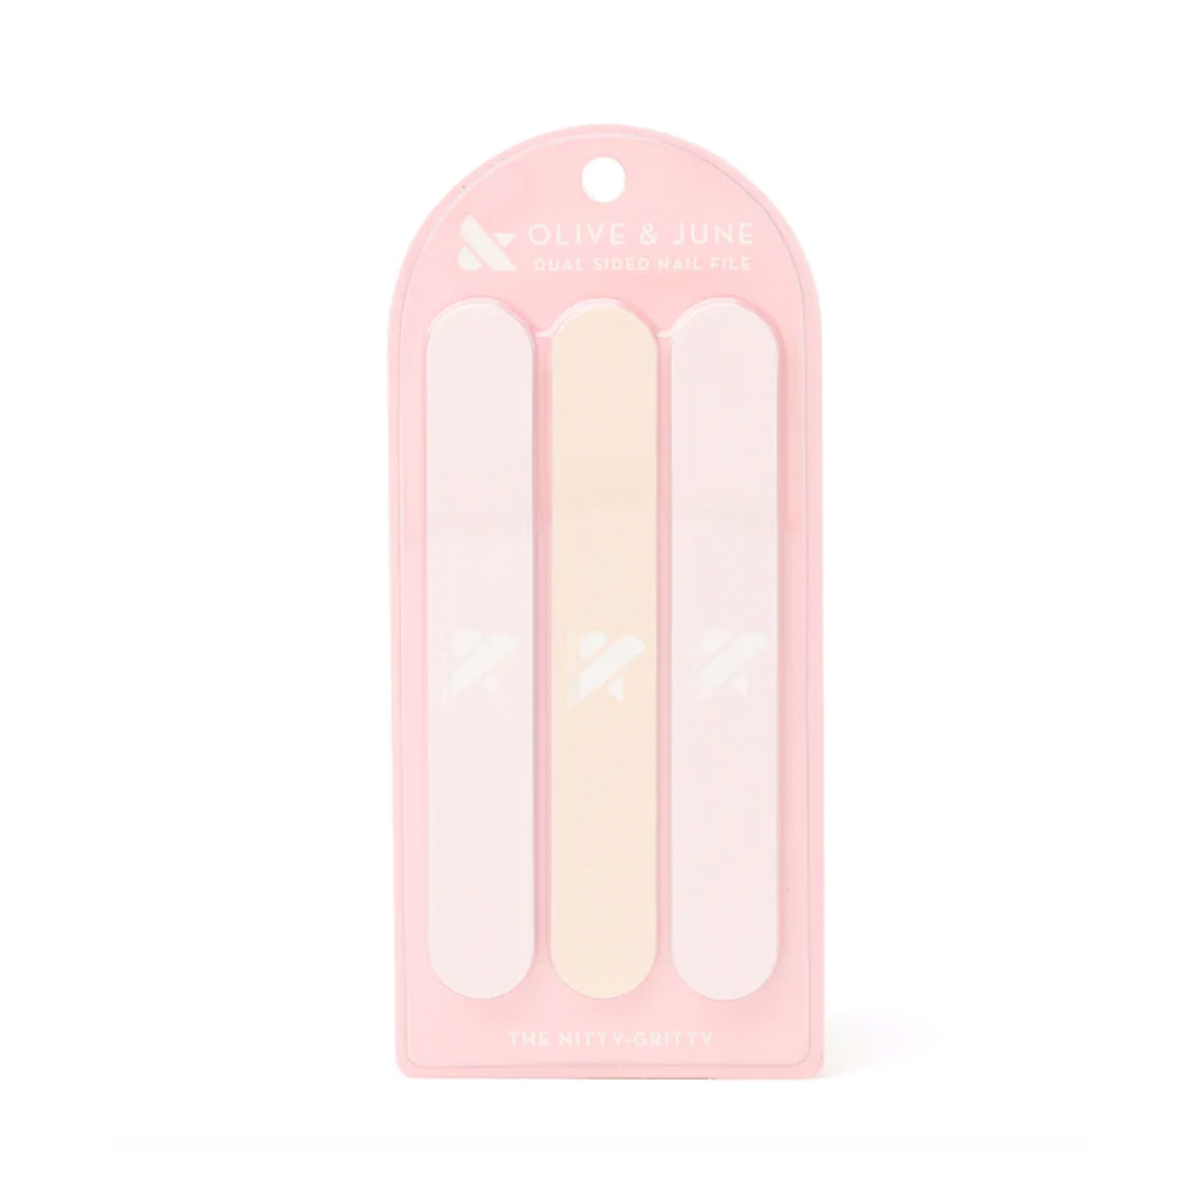
“The higher the grit, the softer the file, with a medium grit being 180,” she explains. “So if your nails are thinner than average, then you want a higher grit than 180, and if you are trying to shorten your nails with a file rather than clipping, then it’s useful to have a two-sided file with a lower grit number to tackle the shortening process.” OK!
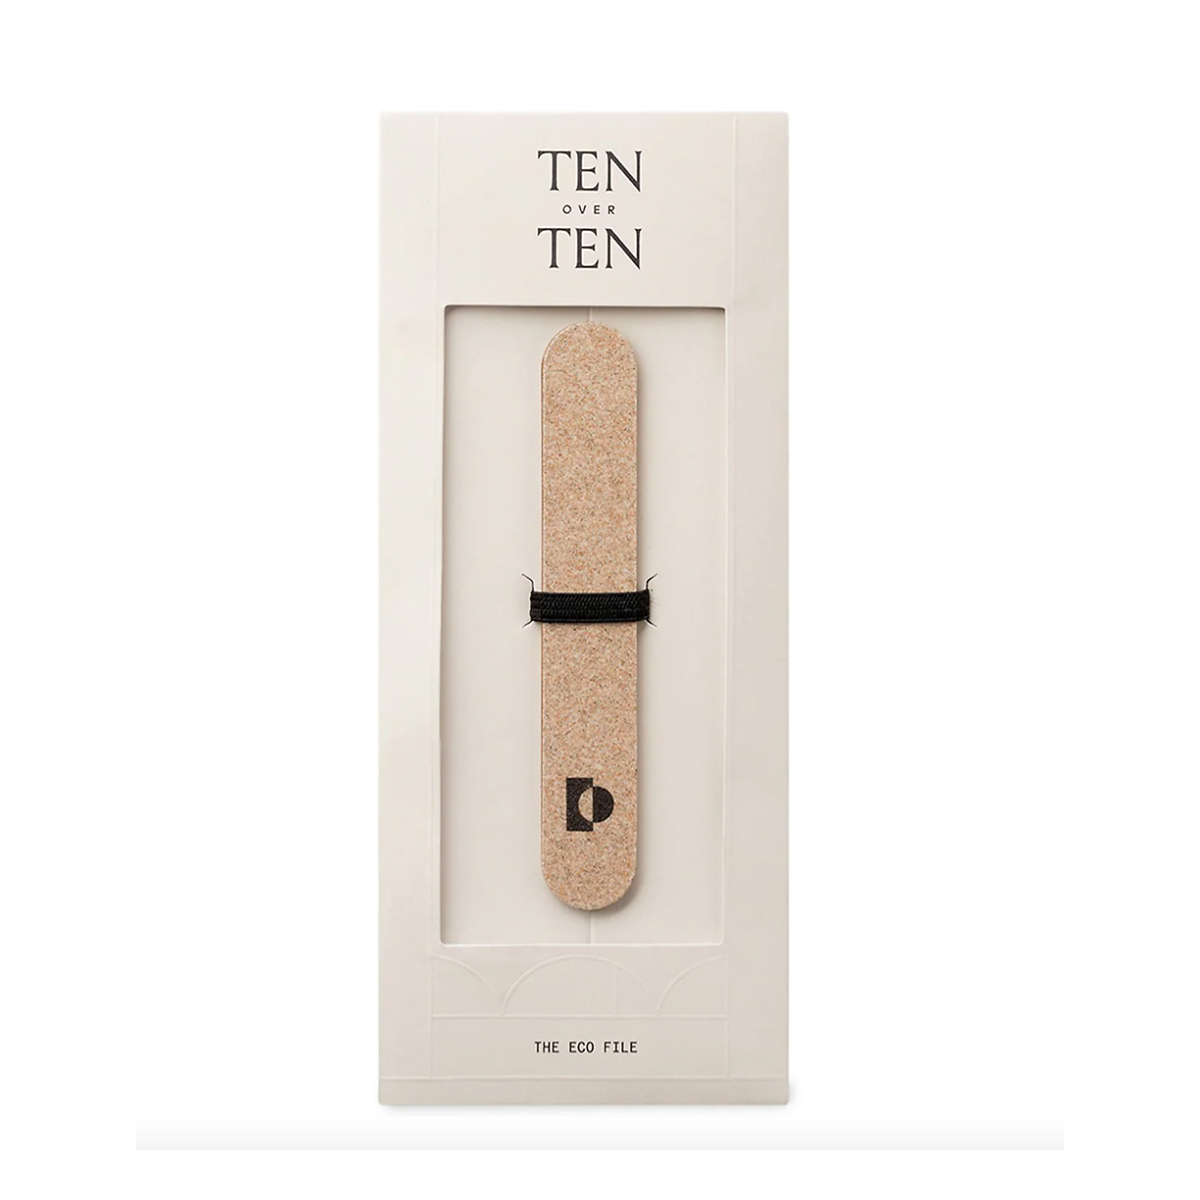
So what should we use on thicker nail types (think: toes nails)? “A file for your toenails will require a lower grit and hence a coarser file to handle our toenails which are often thicker,” she tells us. “My perfect nail file is The Eco File which has a non-foam bamboo center which makes it more sustainable and also helps to prevent bending. Plus, since it’s a medium grit, it’s great for the many nail types.”

Up next, “I Was Genuinely Amazed”: The At-Home Gel Polish That Somehow Exceeds the Hype